

How I Accelerate My Workflow with Free Mobile Apps
Some designers don’t draw. And some analog tools are hard to find.
When I sketch on paper, I prefer to use non-photo blue pencils. But they’re practically obsolete. My work around is a regular blue pencil. Then I scan my sketch into Adobe Photoshop CC, kill the color frequencies to just have the black and white ink levels.
I tried out Illustrator Draw CC, a free mobile app from Adobe. I wanted to see if it could speed up my pre-production work and give me more time for other details.
Draw’s been cool to work with. It’s got layers and the convenience of digital environment. Here are a few tips to help you get your footing in Draw:
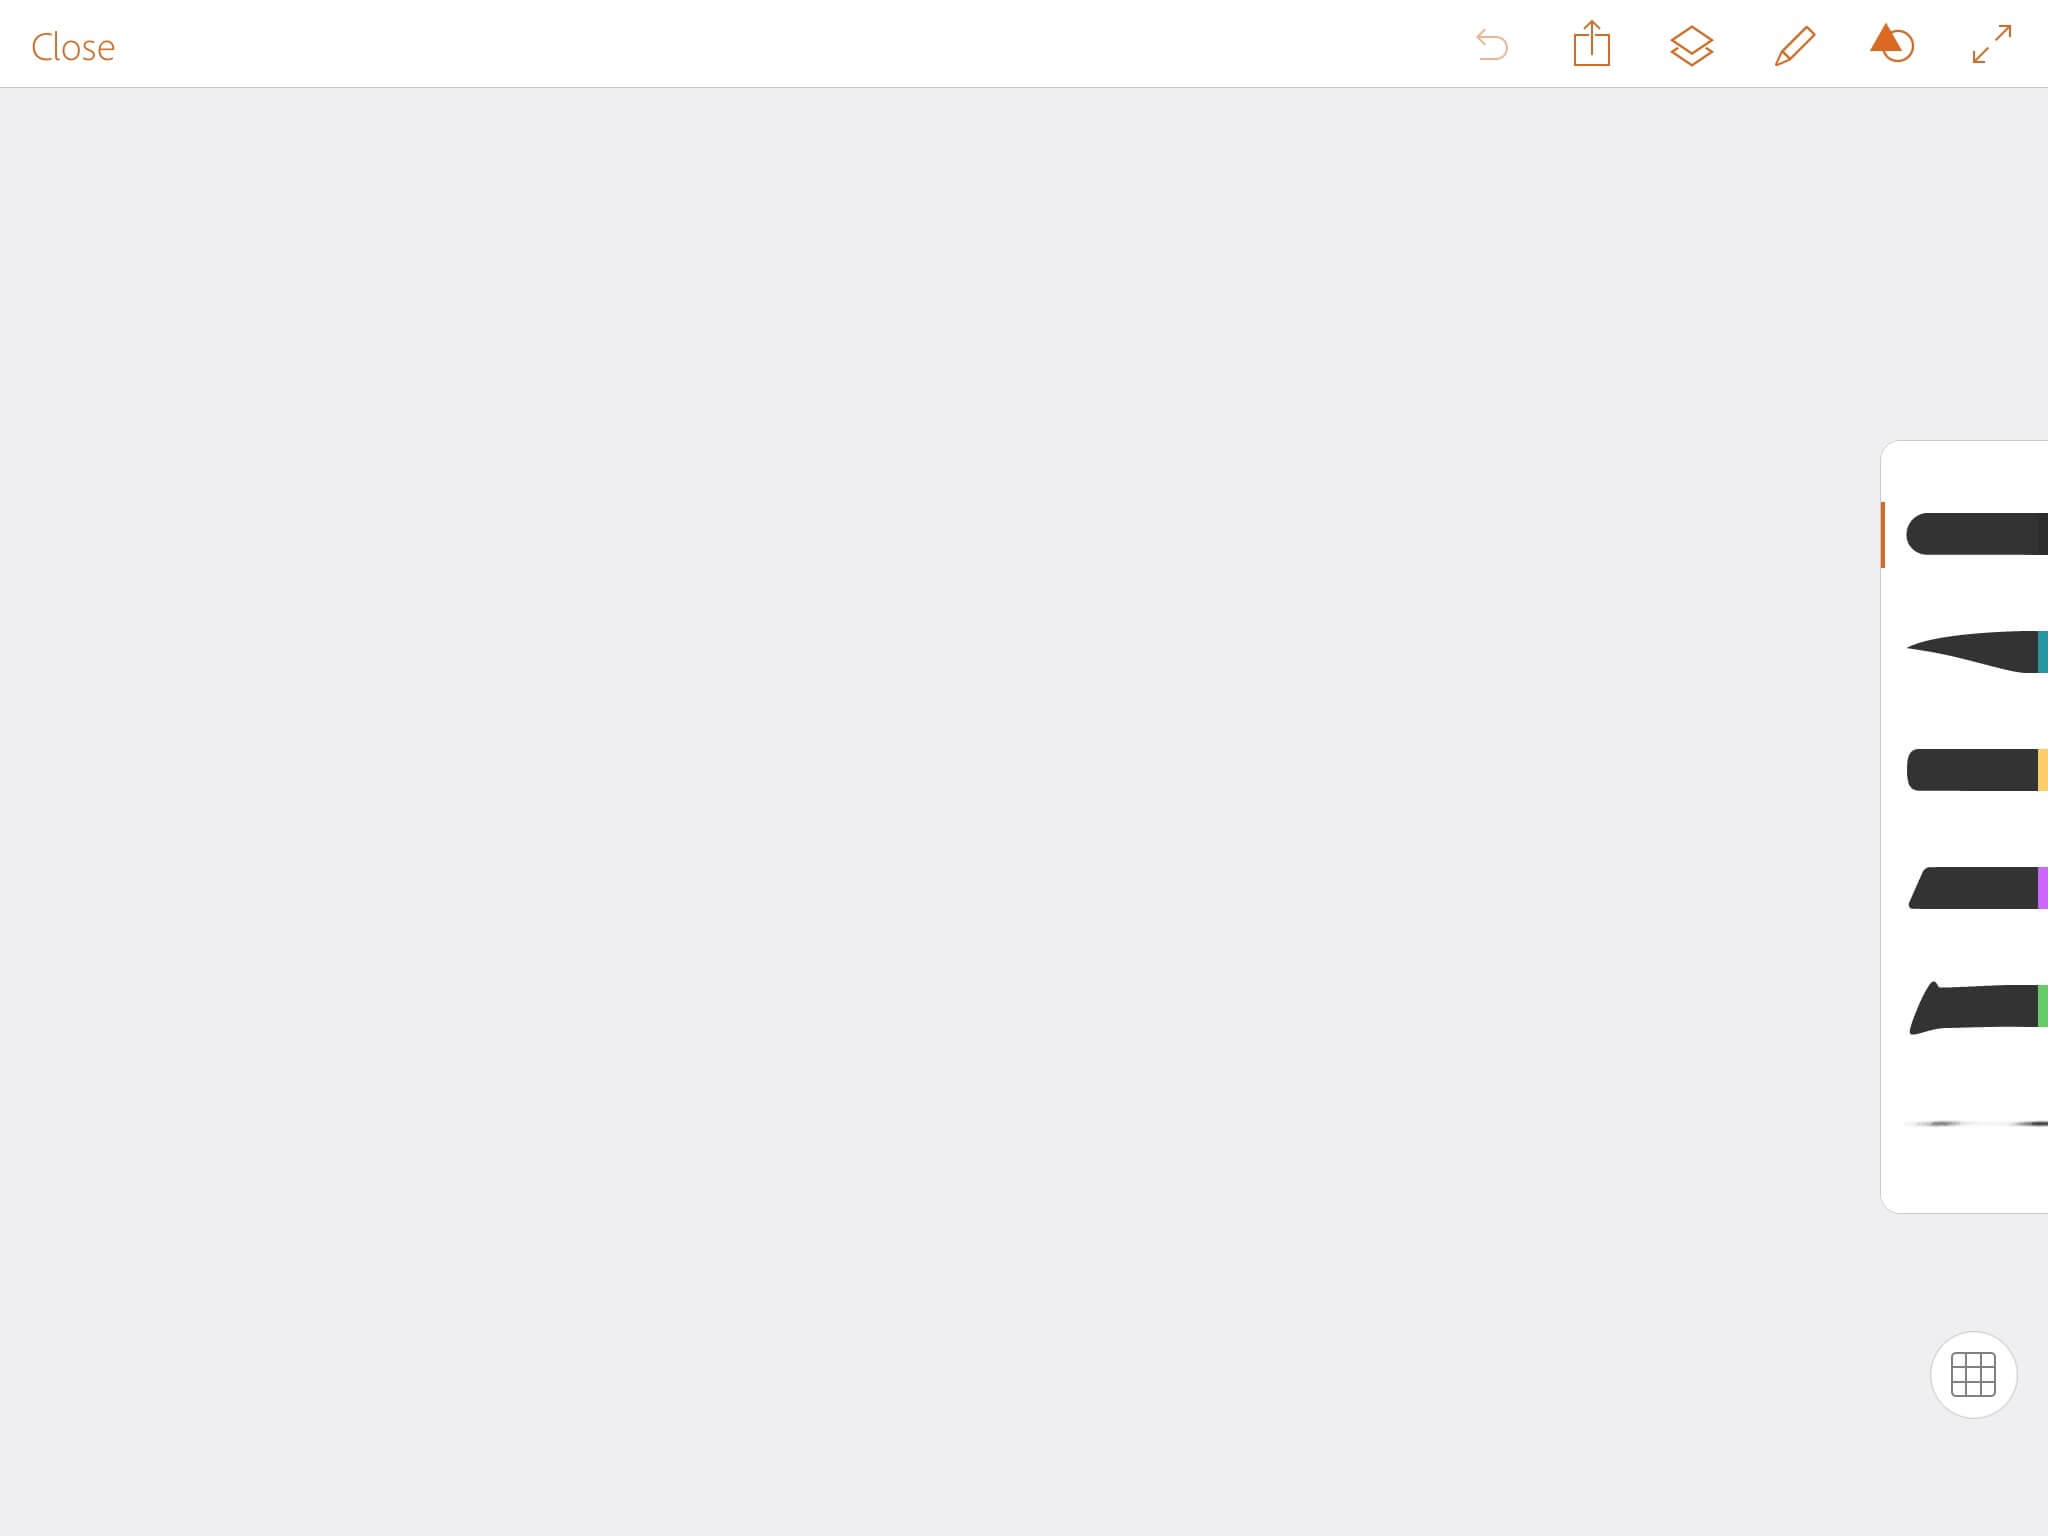
1. Change the location of your toolbar. I’m not left-handed so I changed my settings to put the tray on the right side of the screen.
2. Set up your toolbar with brushes you like. Long-press on a brush to change the individual brush. I like taper. 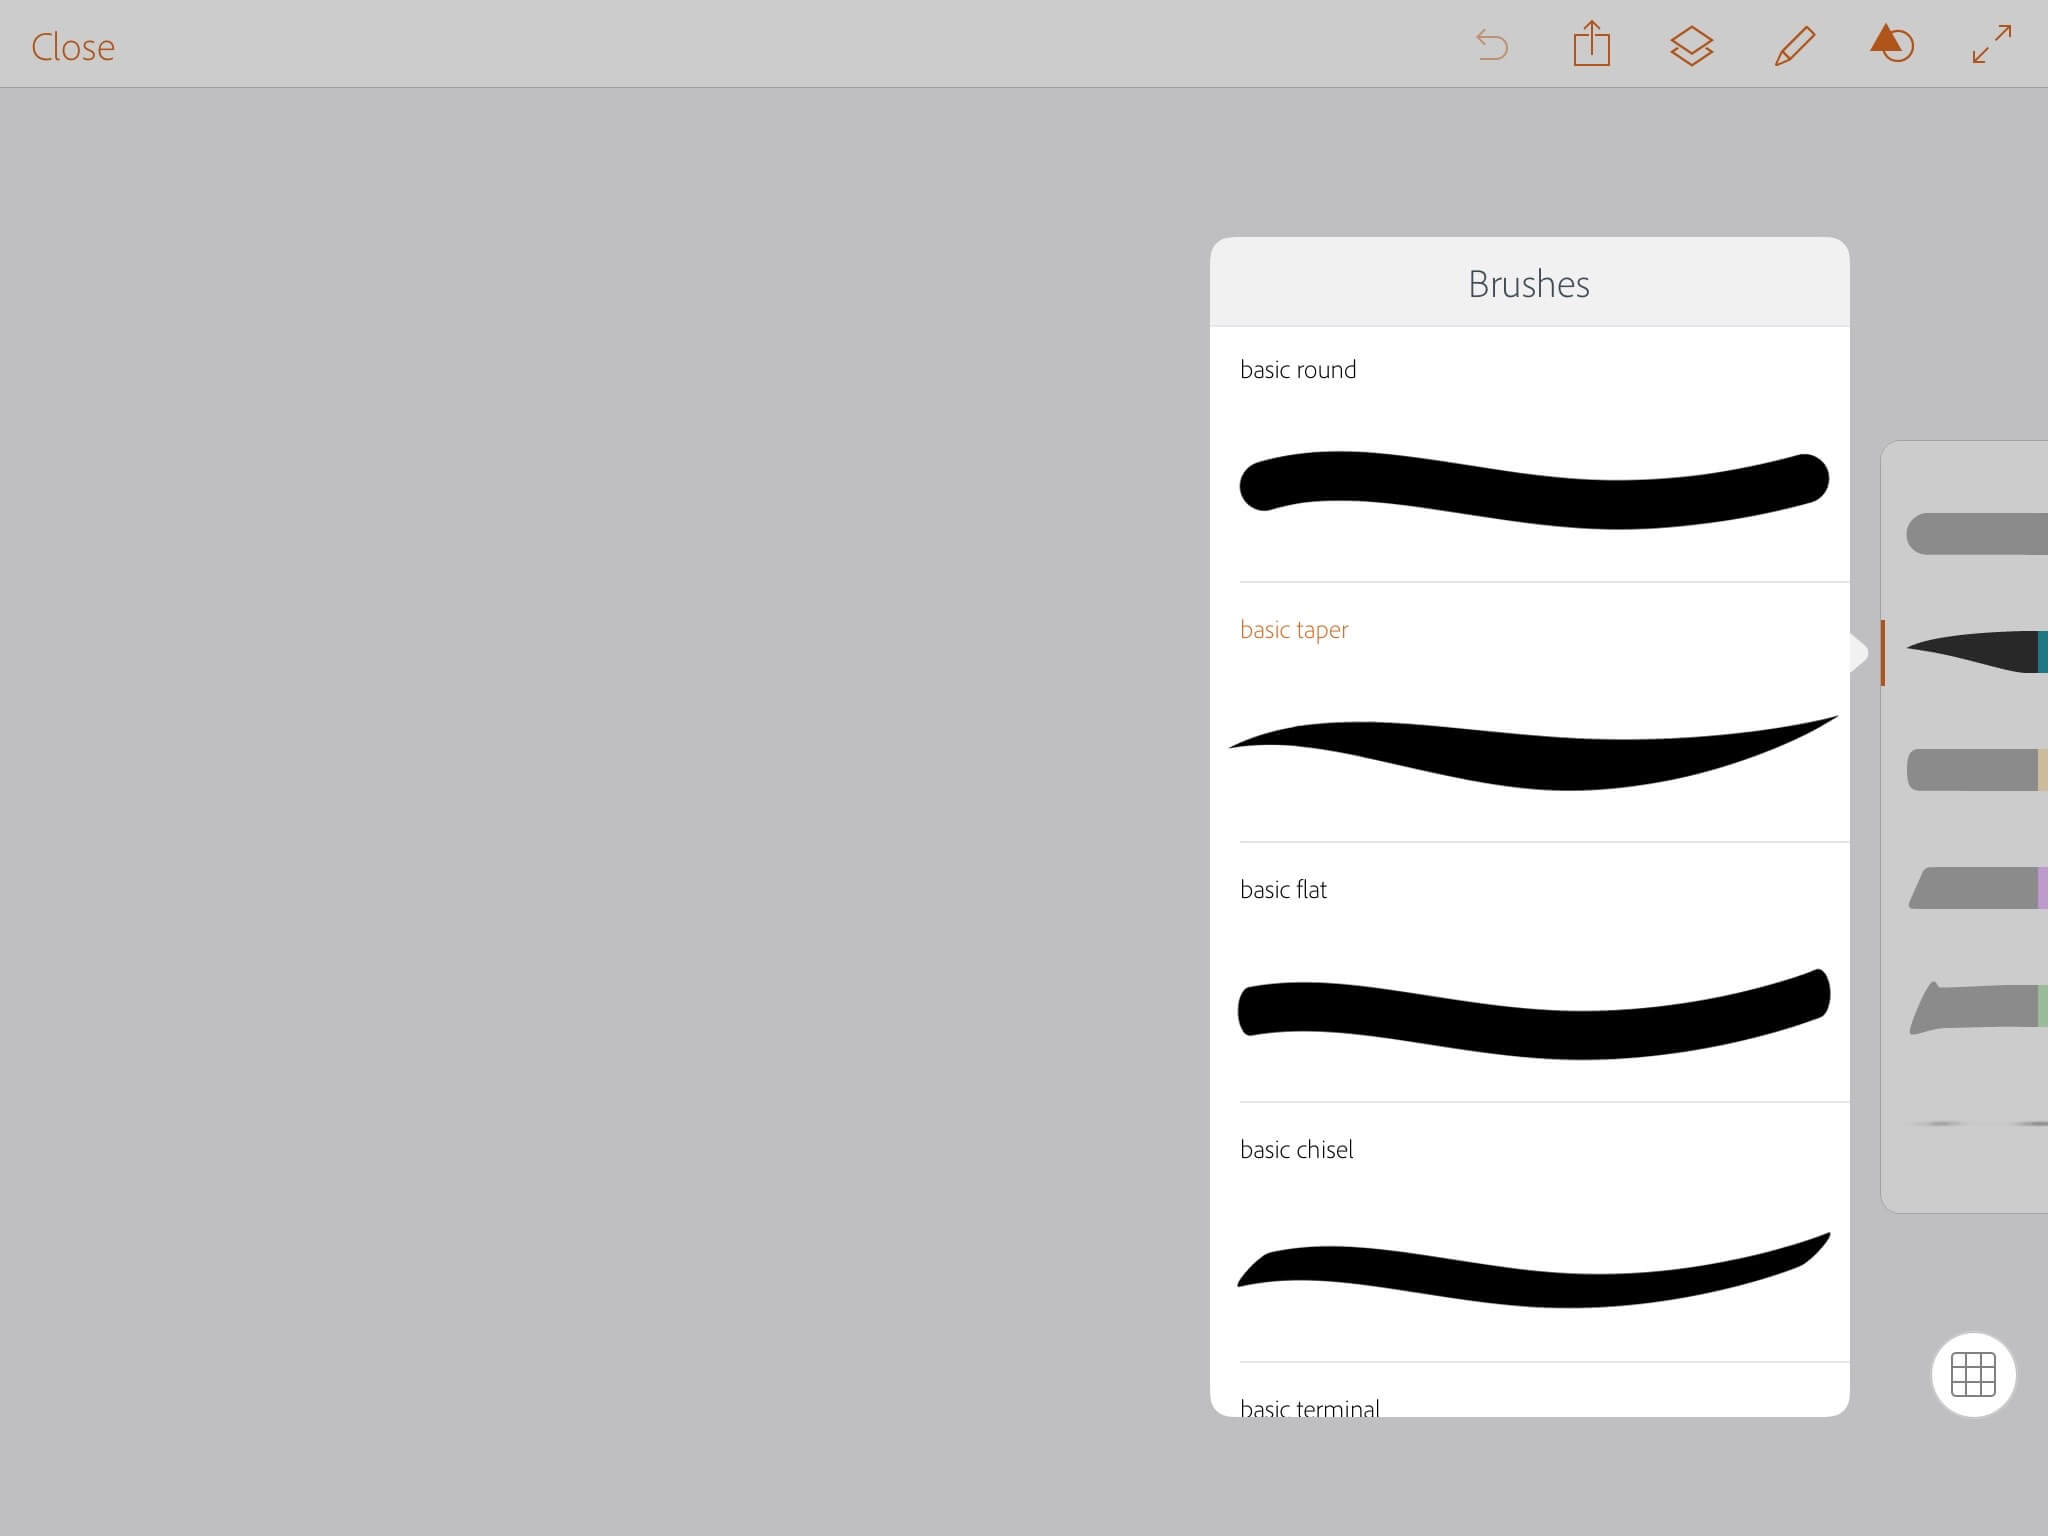
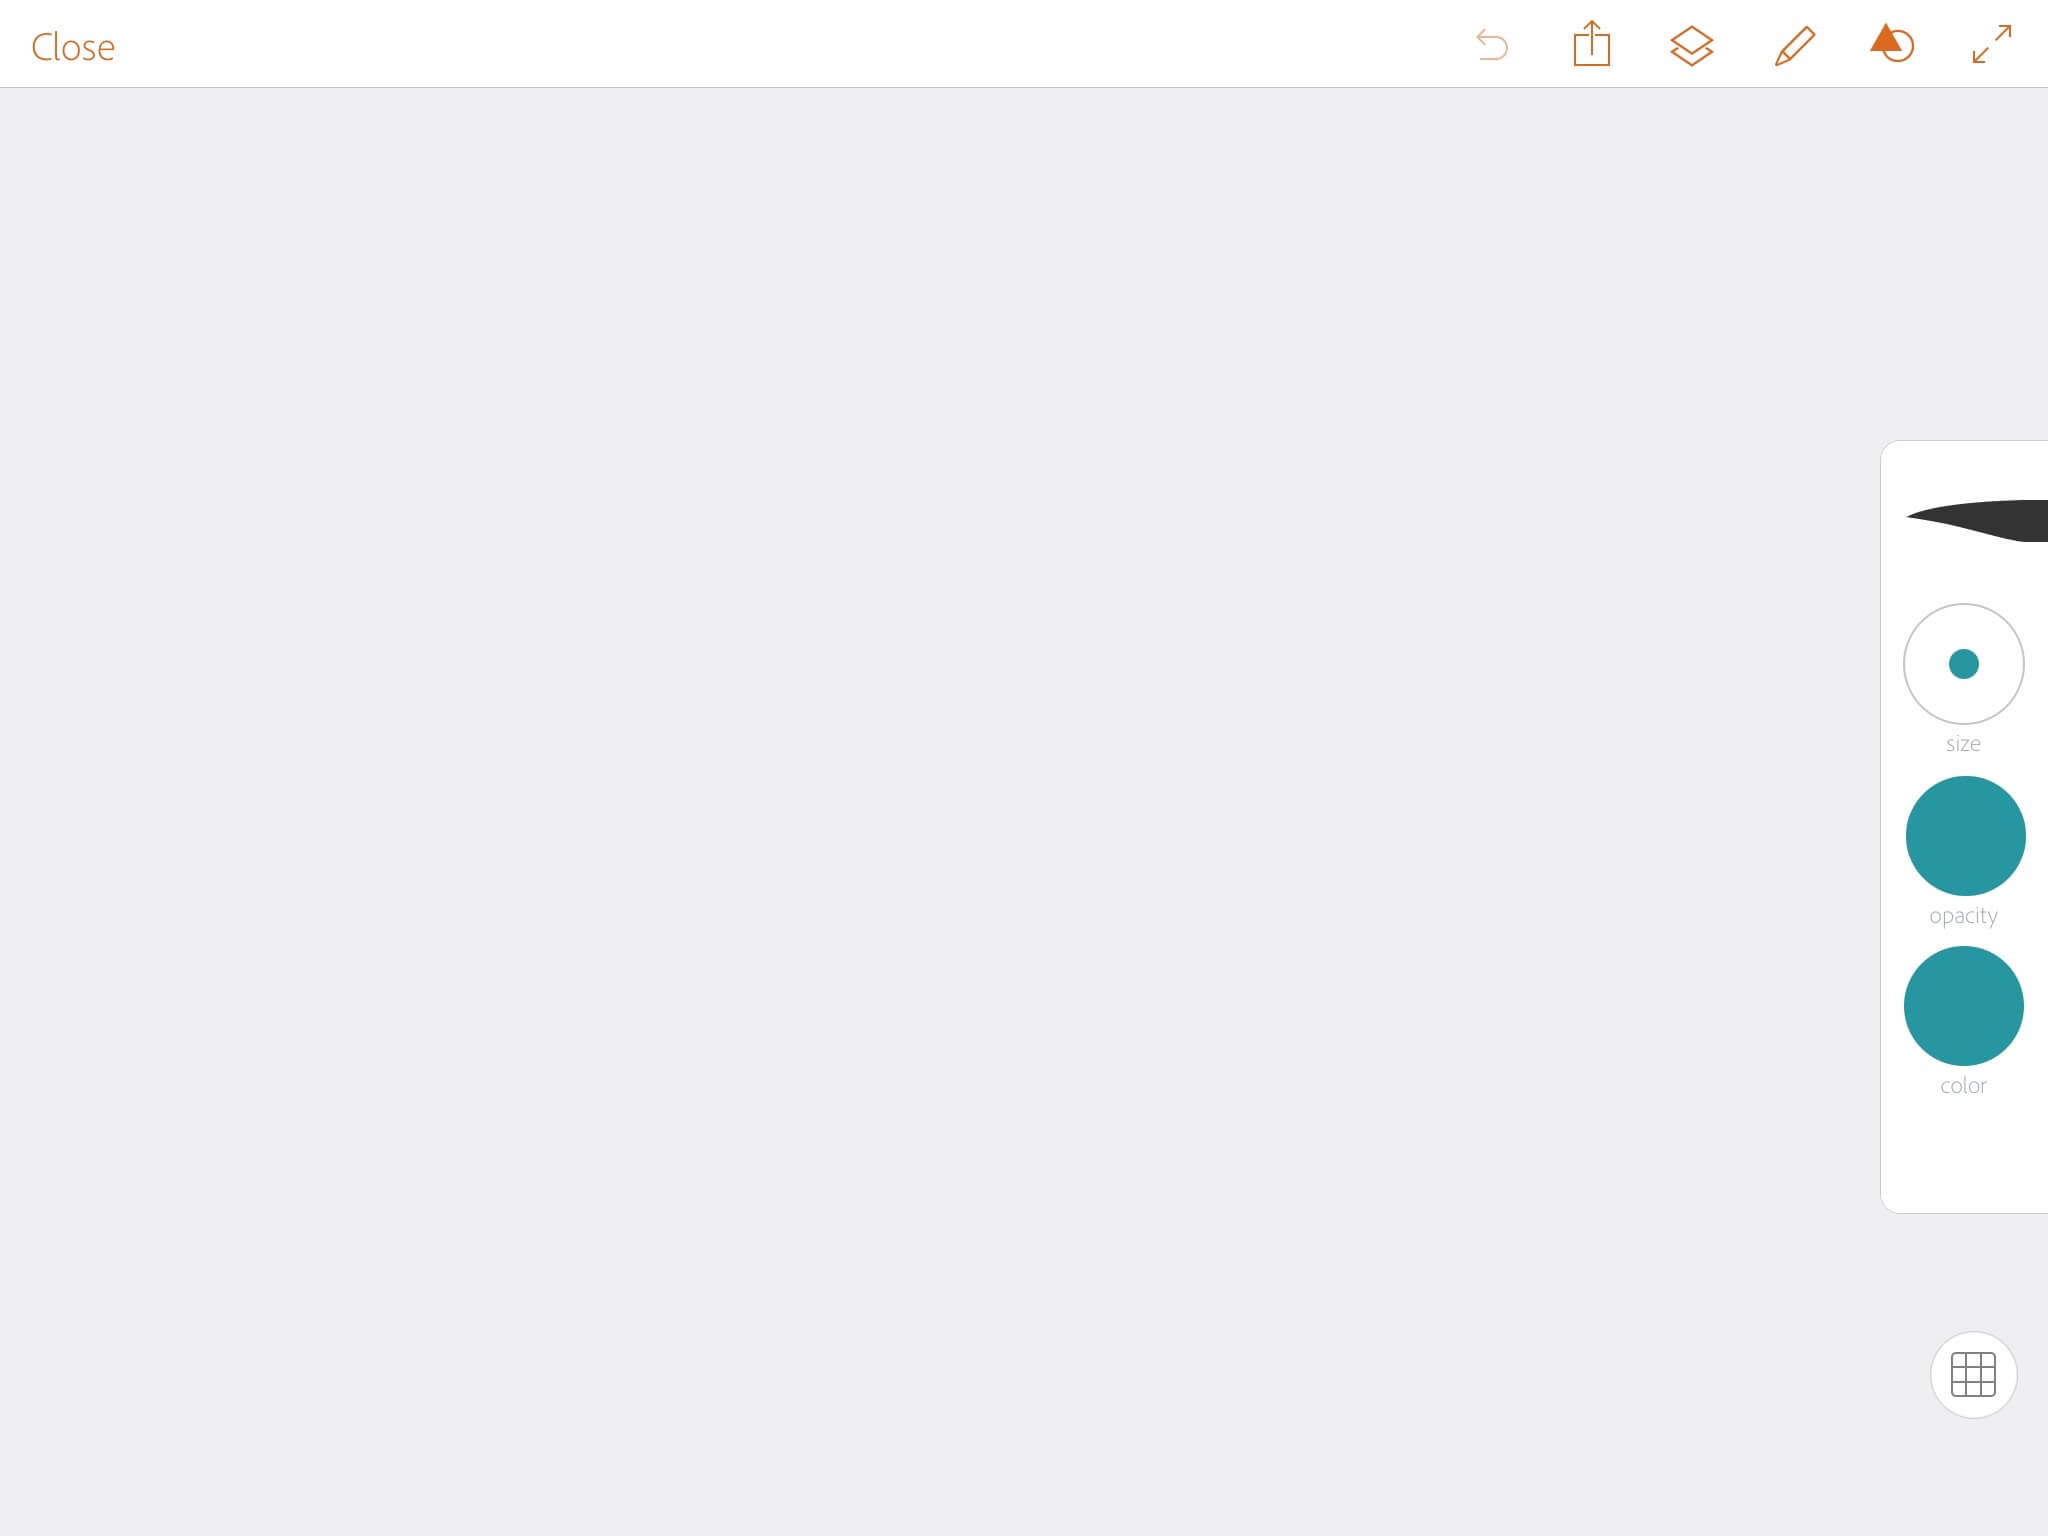
3. Associate your brushes with colors. Since I’m working with blue and black, I’m going to set up those brushes and colors from the get-go. Tap the brush once and see the color menu that’ll let you change the color, opacity and size of the stroke for that specific brush.
Let’s get started.
• Sign into Draw and start a new Project.

• Tap into one of the canvases to start working.
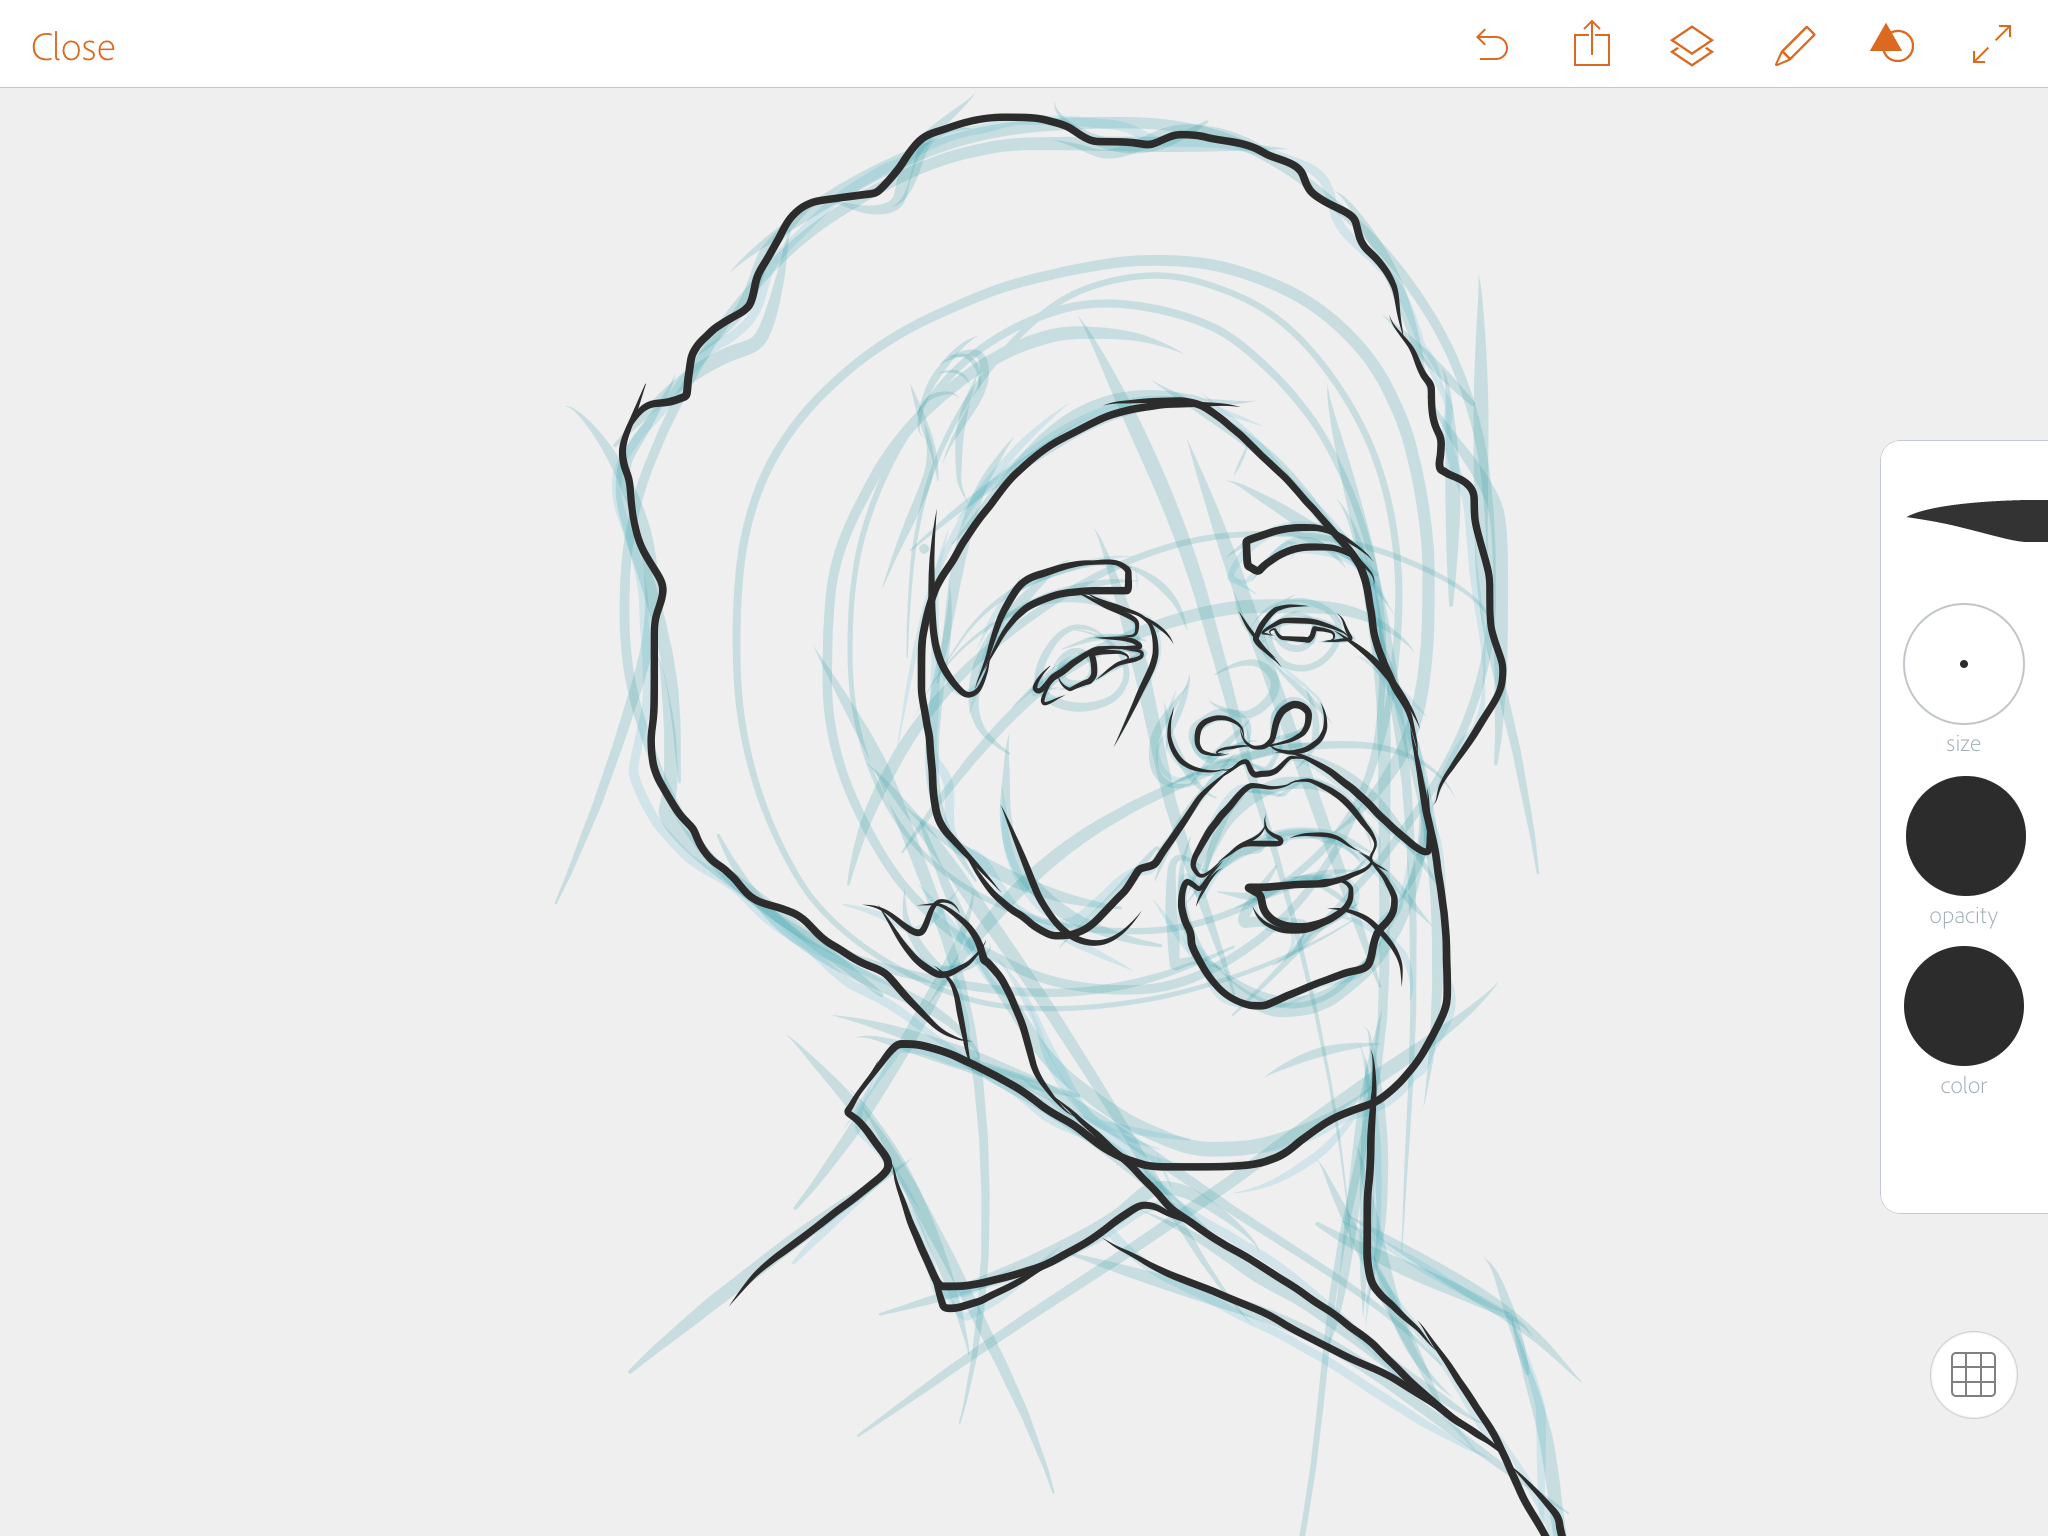
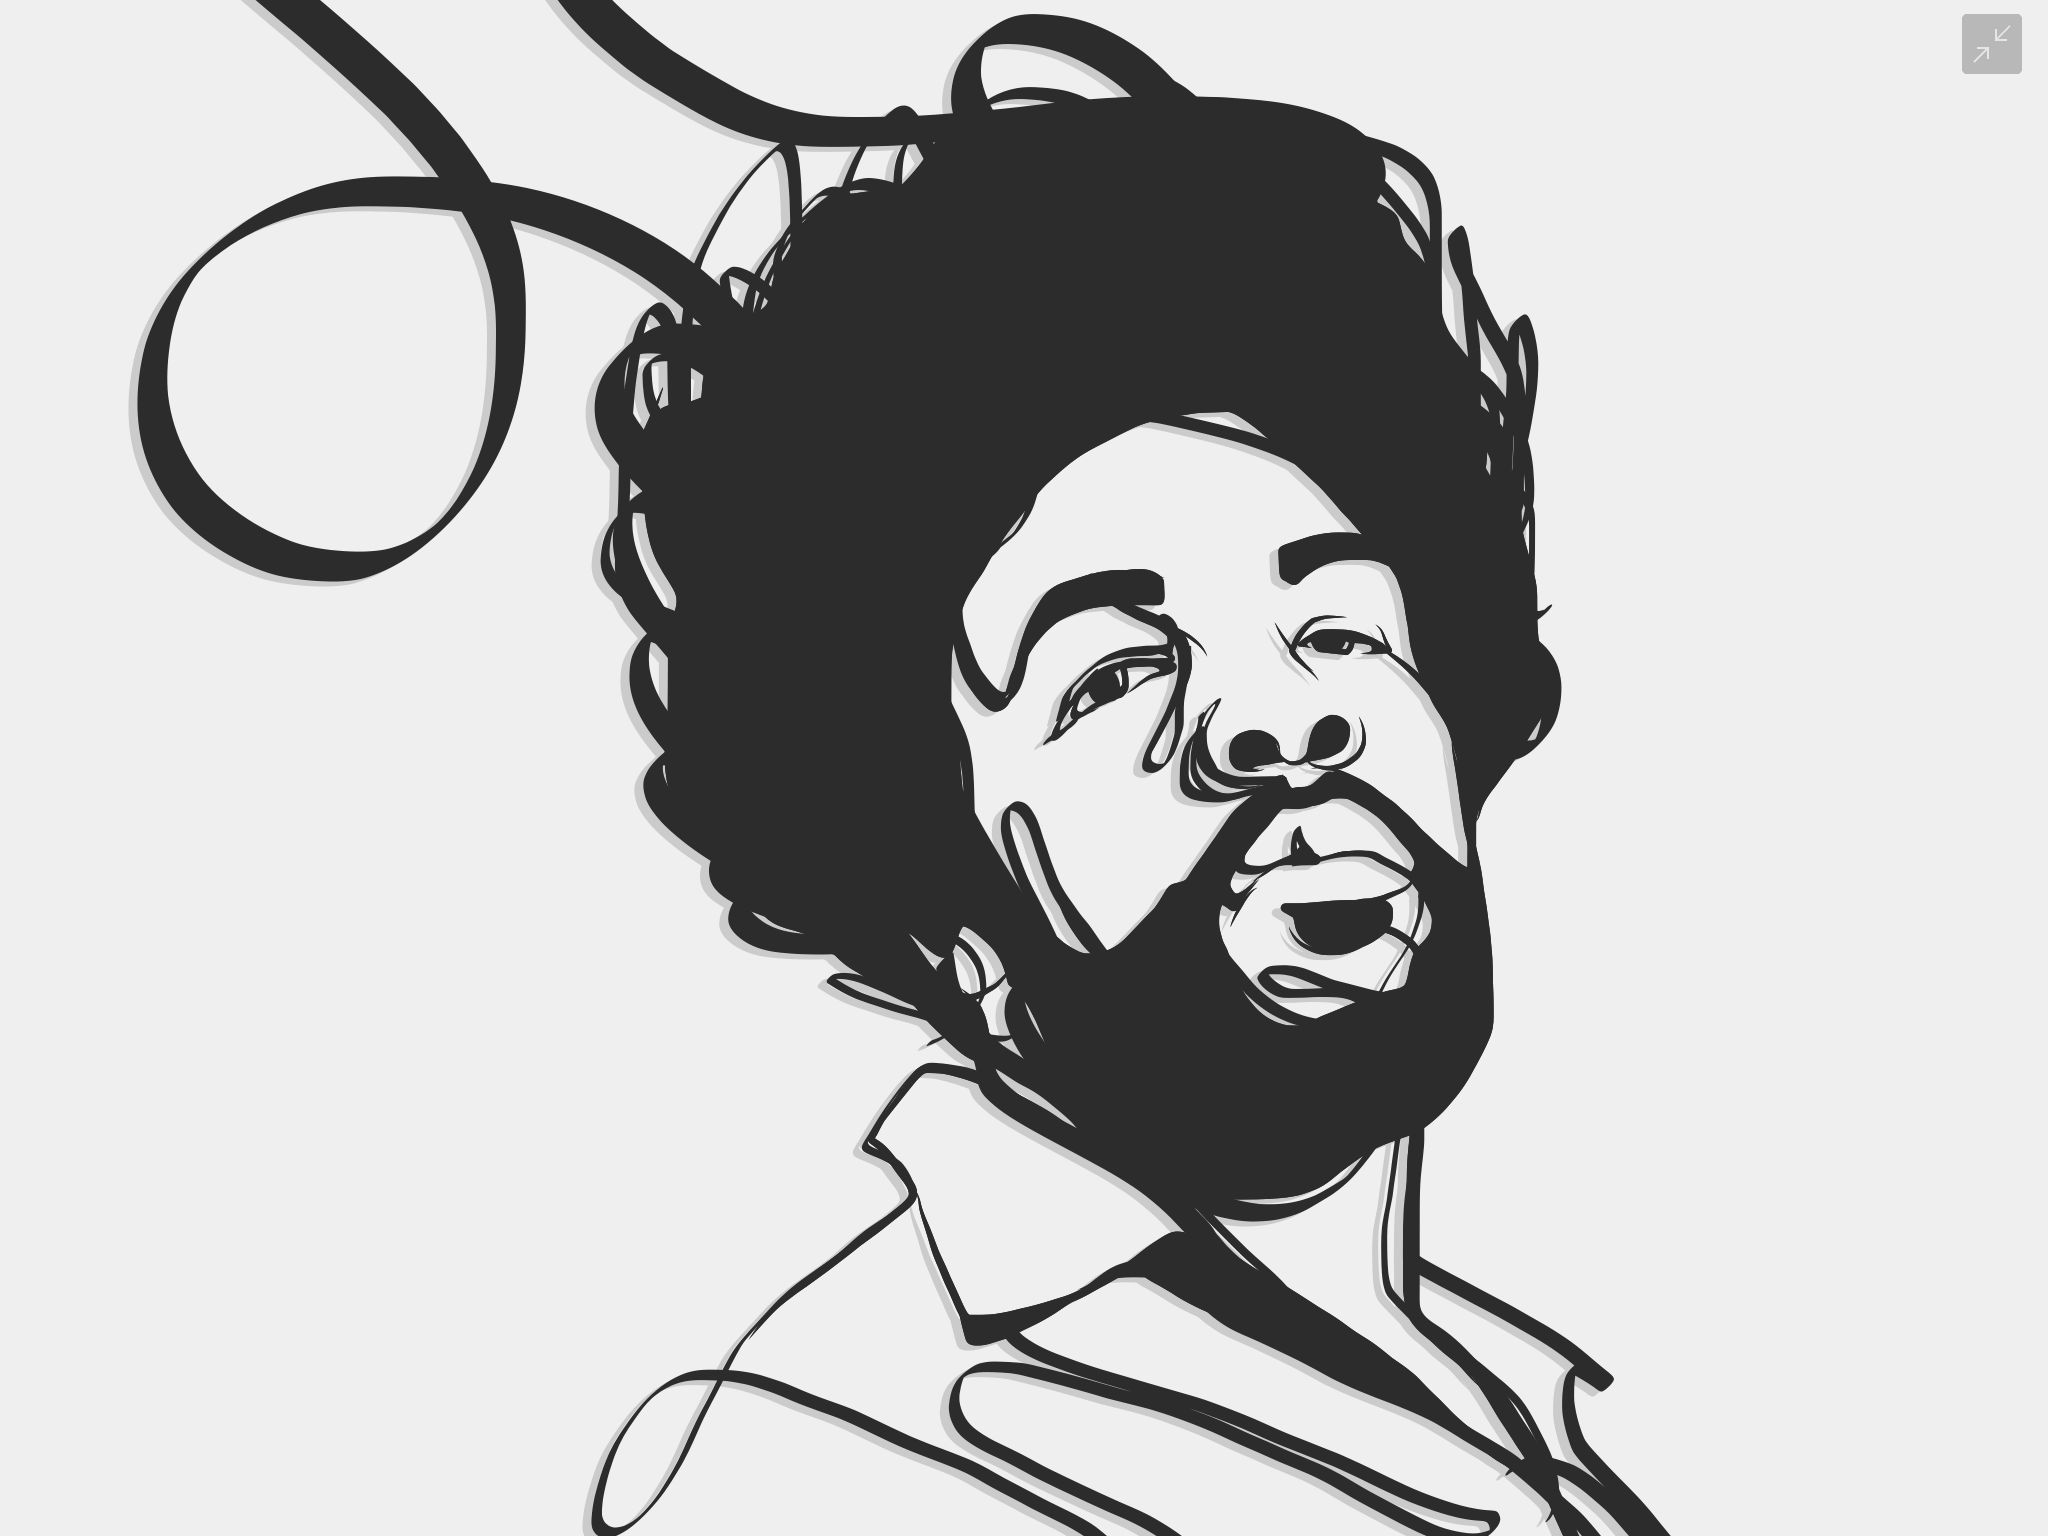
• I recreated y blue line sketch on the canvas using the taper brush and here I am inking it with the same taper brush but with black ink.
• After my image is filled in, I changed brushes to a basic chisel brush to get that nice edge and angle to mimic tape.

• Here’s an update where I used another brush and changed the color to highlight the tape a bit more.
Now I got to figure out how to capture reflected light into my piece… stay tuned.
#ArtistWorkflow.

Robert Generette III is an illustrator, teacher, and vector art monster based in Maryland. He is sharing his workflow to create and build a Blurb book, Eject.
This post doesn't have any comment. Be the first one!