

Sri Lanka: Capturing an Experience in Print
This is a guest post by photographer Dan Rubin, in partnership with Blurb. Dan walks us through his book-creation process from start to finish, and shares his experience using Adobe Lightroom, Adobe InDesign, and the PDF Uploader to create his book.
When Blurb invited me to share my process for creating my photo book, Sri Lanka, I was excited—not only for the chance to work with Blurb again (they were an integral part of producing my first official photo book, Koya Bound a few years ago), but also because I immediately knew what source material I would use: my recent return visit to what has quickly become one of my favorite places in the world, Sri Lanka.
To quote from the foreword I wrote for the book, I approached this book as “the beginnings of a future project; a draft of things to come.” Putting things into physical form—whether text, images, or any other medium—is a way of making sense of the whole; it forces you to make choices, to decide what is really important, whatever that particular measurement means to you. Creating this book was a chance for me to start figuring out what Sri Lanka means to me, photographically, and I’m excited to share my process with you, and, hopefully, inspire you to curate your own images into book form.
Where to begin?
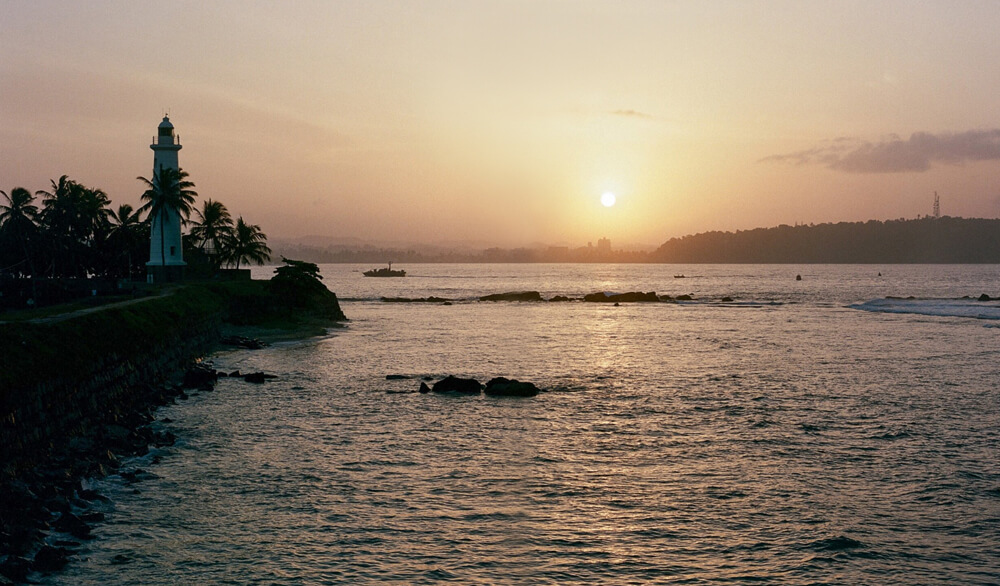
I had barely looked at my images from this recent Sri Lanka visit when this project began, so my starting point was to review all 853 film scans. I shot exclusively on film during my two week trip visiting spots along the South coast, up to the mountains around Ella, and then back to Colombo by train, using four cameras and a mixture of color and B&W film, in 35mm and 120mm formats (I’ve included a colophon in the book for those interested in exactly what was used). I wasn’t shooting with any particular goal or story in mind, other than reacting to the scenes discovered along the way.
Culling your images is the first step in curating for any output, from books to exhibitions to online galleries and photo essays. It can seem like an enormous task at first, especially if you shoot digital where the number of captures can be exponentially larger than with film. This is one of the reasons I shoot film: to focus while shooting and reduce the number of images captured in the first place, as it makes the first step of culling far less intimidating and time-consuming.
My tool of choice for image-wrangling is Adobe Lightroom Classic CC, which is handy since there is built-in Blurb support within the Book module. More on this later…
With my 853 scans in Lightroom, I made a first pass giving images I liked a 1-star rating. I don’t bother making any edits to the images at this stage—it’s all about getting the total number of images down to an even more-manageable amount. Once this pass was complete, I made a second pass, mostly choosing between similar images and reviewing all 453 1-star images with a more critical eye. The resulting 2-star collection became a more palatable 244 — a much better starting point for putting together a story of any length. (note: you can always go back to your lower-rated images to pull out specific images that contribute to the whole. Those images often make sense once the curation process has advanced a few more steps)
Making Sense of It All
I knew wanted this book to be similar to Koya Bound, in the most basic sense—a representation of what I experienced during those few weeks and how that felt, rather than a specific documentary story or study of a particular aspect of Sri Lankan life.
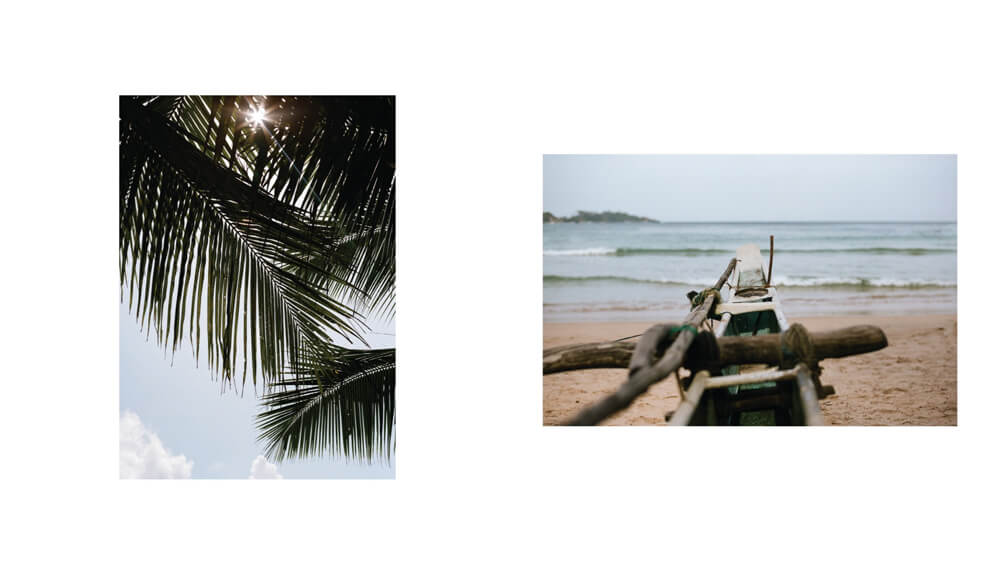
As the trip was so recent, I had no trouble remembering what I’d experienced and where I’d been, so my first step was to decide on a few general themes around the types of locations and experiences that stood out the most. The resulting list was: beach, mountains, and trains (roughly the order in which I experienced each, as it happens). These simple themes allowed me to group those images and start thinking about how they would flow within each section, and how they might connect to each other.
Much like the process Craig and I followed for constructing Koya Bound, the next step was printing out all my 2-star photos on a B&W laser printer (on the low-quality ‘toner-saving’ setting), 2 photos per page, spreading them out on the floor, and starting to make pairings with the goal of creating spreads of. Logical relationships quickly formed within each of my 3 themes, including initial pairings for spreads, a few multi-image series, and single images pulled out for use as 2-page, full-bleed features.
Now that I had a better understanding of the raw material, the next step was to start laying the groundwork for book layout itself.
Designing the Layout
From the outset, I had a good idea of the dimensions, cover style, and paper type I wanted to use, as I was already familiar with the options Blurb offers. I’ve been a big fan of Mohawk papers for decades (including my stint as Creative Director at MOO.COM, where some of Mohawk’s best paper stocks were standard), and Blurb’s ProLine papers are based on Mohawk’s excellent range of Fine paper stocks, so I knew from the start that I wanted to use one of the ProLine options.
Having ordered Blurb’s Swatch Kit ahead of time, selecting a paper stock was a simple matter of deciding between the ProLine Pearl Photo, and ProLine Uncoated papers—I chose the latter, as I’ve always preferred the natural and tactile feel of an uncoated stock.
My target for the book length was between 60-100 pages, from experience with Koya Bound and generally liking that size and weight. Assuming 1-image per page, for the most part, having this target also gave me a rough idea of how many images would be included in the final design.
Normally, I would have likely started the digital part of this layout with Adobe InDesign CC, using Blurb’s plug-in to create the pages and basic guides, then designing the page grid and layout from there. This is how Koya Bound was initially constructed, so the temptation to stick with a familiar process was strong; however, I also had been looking for an excuse to try the built-in Blurb support within Lightroom’s Book module, so for this project, I decided to start there.
The page layout options within Lightroom are extensive, and flexible enough for most projects. After setting up the book dimensions (a Standard Portrait 8×10” photo book) and other options, I began selecting my layout options — Lightroom allows you to mark layouts as favorites, making them easier to access quickly as you work through the book. Many of the page layouts available are similar to what we designed from scratch for Koya Bound, so those were my starting points (plus a few 2- and 3-image per page options).
With the page templates selected, and a rough understanding of the images and pairings I wanted to use (thanks to printing out my selects), I constructed the bones of the book with only the layouts themselves, in order to see the rhythm of the layout across spreads and the entire (rough) length of the book without getting distracted by specific images or colors. This helps get a good feel for where 2-page spreads should feature, potential sequential connections, and, similar to laying out the monochrome selects on the floor, it provides an overview of what the book feels like, without getting caught up in other details too early.
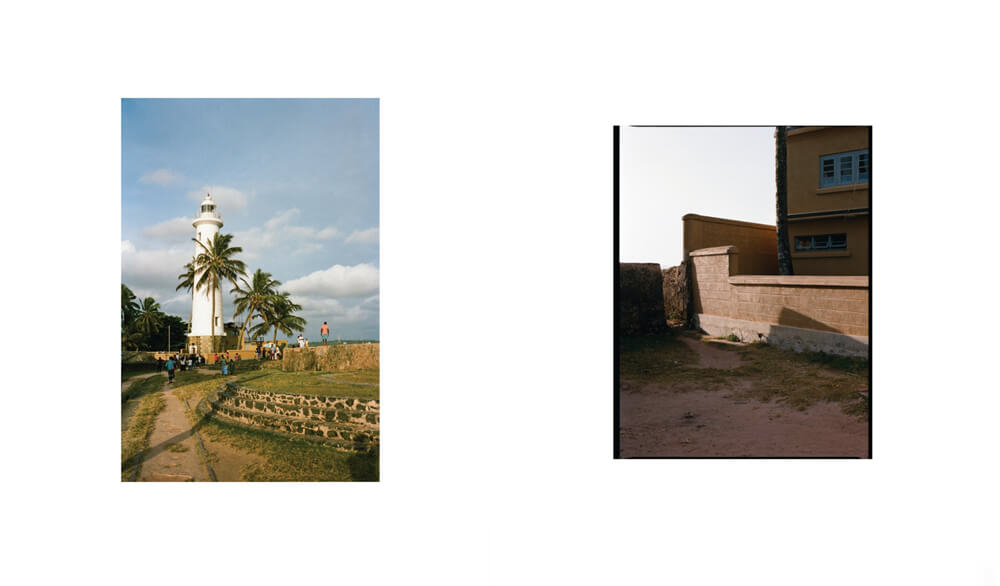
Image Selection and Flow
This is the step that requires some trial and error, and a lot of gut-checks. By this point, I knew what images I preferred, and had a few ideas for the best 2-page spreads, as well as the front and back cover (full disclosure: I knew which image I wanted to use for the cover before I did anything else—it stood out the first time I saw it, and, happily, I couldn’t get it out of my head from that point on).
For the most part, the pairings and order I worked out on the floor continued to make sense once color was introduced, as well as layout. In a few cases, I swapped portrait images for landscapes of the same scene, and as the images landed in place a few were removed, and a handful added that hadn’t made the cut on the floor (see my note earlier about images becoming more appropriate for inclusion once you get a feel for the whole).
Once I had my first draft of the spreads, I printed them out again to get a physical idea of the shape of the book. It’s so much easier to swap spreads around, or pages, in a tangible way, and with an object that will end up printed on paper, it feels appropriate to proof the key stages on the same medium.
A few more image swaps and re-crops later — including replacing my initial choice for the back cover with a tight crop of a 35mm image, so the horizons would nicely align between front and back covers), I felt confident in the flow from start to finish, and could move on to some final, cheeky customizations.
Finishing Touches
One area I would love the Lightroom Book module to expand on in the future is typesetting—as a designer who started out working with type over 20 years ago, this was one aspect of the design where I wanted a little more control.
Thankfully, the workaround was fairly straightforward, using a combination of what I’d already created in Lightroom’s Book module, InDesign’s ability to place/import pages from a PDF, and Blurb’s own InDesign plug-in: by changing the type of Book in Lightroom from a Blurb preset (which only allows uploading directly to Blurb) to a PDF with the same dimensions, I could output my layout to a print-ready PDF, and place each of those pages into a new InDesign template created with Blurb’s InDesign plug-in.
This worked beautifully, and for anyone wanting to combine the most efficient layout creation (e.g. Lightroom’s Book module) with any custom options at all (easiest within InDesign), this is the way to go.
Now that I was working with InDesign’s tools, it was dead simple to add a few extra pages at the start and end of my image layout, including a title page, foreword (manually typeset, sized, and positioned to match the first image on the next page), and colophon.
Working within InDesign also allowed me to add a few other finishing touches I would not have been able to manage within Lightroom’s Book module, including commissioning my talented friend, Ash Fields, to create hand-drawn lettering for the cover, spine, and title page, along with an illustration of Sri Lanka for the colophon. Those few custom elements help set the entire book apart, and give it a more bespoke feel.
The final stage when using Blurb’s InDesign plug-in is an automated pre-flight check (the print industry term for checking everything before sending to press), which then outputs two PDF files — one for the cover and another for the pages — to check by eye. For the sake of completion, I printed those PDFs so I could proofread my foreword and colophon in print, do a final check on all image crops, and just generally allow myself to proof it twice (once on screen, and again in print) before deciding it was ready to upload to Blurb for printing.
The Finished Product
The last—and, perhaps, most important—part of the project was receiving the book itself, and holding it in my hands. There is really nothing quite like removing your book from the packaging for the first time, feeling the actual, physical weight of the thing you’ve made, removing the protective wrapping and smelling the combination of fresh paper and ink as you flip through the pages.
The colors were stunning, all the wonderful tones of Kodak film rendered beautifully on each page, and the crisp, clear text sitting proudly, waiting to be read. I’ve already ordered a few copies as presents for friends and family, and it’s also available to purchase directly via Blurb’s store —an easy bonus that barely requires any setup at all once you’ve uploaded your book.
Do you have a recent trip or experience you’ve captured that would be perfect for a book? What kind of book would you create, and what story would it tell? Let me know here in the comments, or on Twitter @danrubin
Happy creating!
Ready to make a travel book? Get started with one of our high-on-design templates or create your own custom layout.
This post doesn't have any comment. Be the first one!