
How to use pictures to tell a story
The adage, “A picture is worth a thousand words,” is undeniable. Photographers know best that images can bring stories to life and build powerful connections through a lens. A picture can tell a story and convey emotion, mood, and messages—even evoke understanding that words can’t.
Most professional photographers know this instinctively; moving to capture a complex moment or fleeting expression, taking pictures with the intent to tell a story. Most photographers also know that cleverly crafting images into a full narrative requires more than instinct. Good storytellers in any medium work at their craft, spending time with the greatest stories and practicing to improve their own.
Whether deepening your journey into visual narrative art or just beginning to snap shots, this guide is here to help tell your story.
The plan
Every good image storyteller starts with strategy, which allows them to capture key moments, evoke the desired emotion, and edit into the perfect final product. Just as a writer creates an outline and a director sets the stage, you can begin by making a plan.
While shooting without one can lead to flashes of inspiration, it can also end in disconnected sequences and lost narrative. To explore pictures that tell a story, you first need to think through the story you want your pictures to tell.
Consider the basics
Questions are the best way to elicit a decent plan for your pictures to tell a proper story. Here are some of our favorites:
- What is your story’s goal?
- What genre does it fit within?
- Who are the key characters? How can you gain their trust?
- What research do you need to do on your subject or location?
- How much time do you have?
- What level of access do you have?
- What equipment and props do you need?
- When and where are you going?
- What lighting and weather will you need to prep for?
- What’s the arc of your story? How will you capture the beginning, middle, and end?
- How will you share your story? What medium will you use?
Choose a theme
Selecting a visual or stylistic theme for your pictures before you shoot is a great way to ensure you can seamlessly weave your story together when it’s time to share it. Photo stories that mix disjointed elements can be jarring to an audience—like a book switching writers each paragraph. On the other hand, a lack of visual variety can be just as disappointing.
Theme thought starters:
- Select a specific color palette
- Pull out a hero color—perhaps a logo color for a business
- Stick to a specific aspect ratio or angle of view
- Use props to create continuity
- Choose unique film to shoot on
- Try black and white
It’s a great idea to pull some visual samples of your desired aesthetic, editing style, composition, or color scheme in this process. If you’re working with a client, you’ll want to include this ahead of time (along with the soon-to-be-mentioned shot list) to ensure everyone is on the same page and will be happy with the results.
Jot down a shot list
Shot lists are integral for working with clients—they open up communication, manage expectations, and provide a game day plan. What’s worse than not capturing a shot your client wanted most? Even if you are shooting for yourself, you’ll save a considerable amount of time concepting and organizing ahead of time—rather than trying to make a plan and problem-solve on the spot.
A written list will ensure you don’t forget anything needed for a campaign or event. And, if you’re doing an outdoor session, a shot list can help you accurately schedule your day, so you don’t miss those incredible golden hour photos or silhouetted sunset shots.
Begin by jotting down a few must-haves and then expand from there. A wedding shot list might include cake detail shots, a wide shot of the grand entrance, and candid dancing or toast moments. For a real estate client, it might be a list of all the rooms in the house, the front and back exterior, and specific drone shots of the property. Writing it down and double (and triple) checking with your client and the rest of your team means nothing will fall through the cracks.
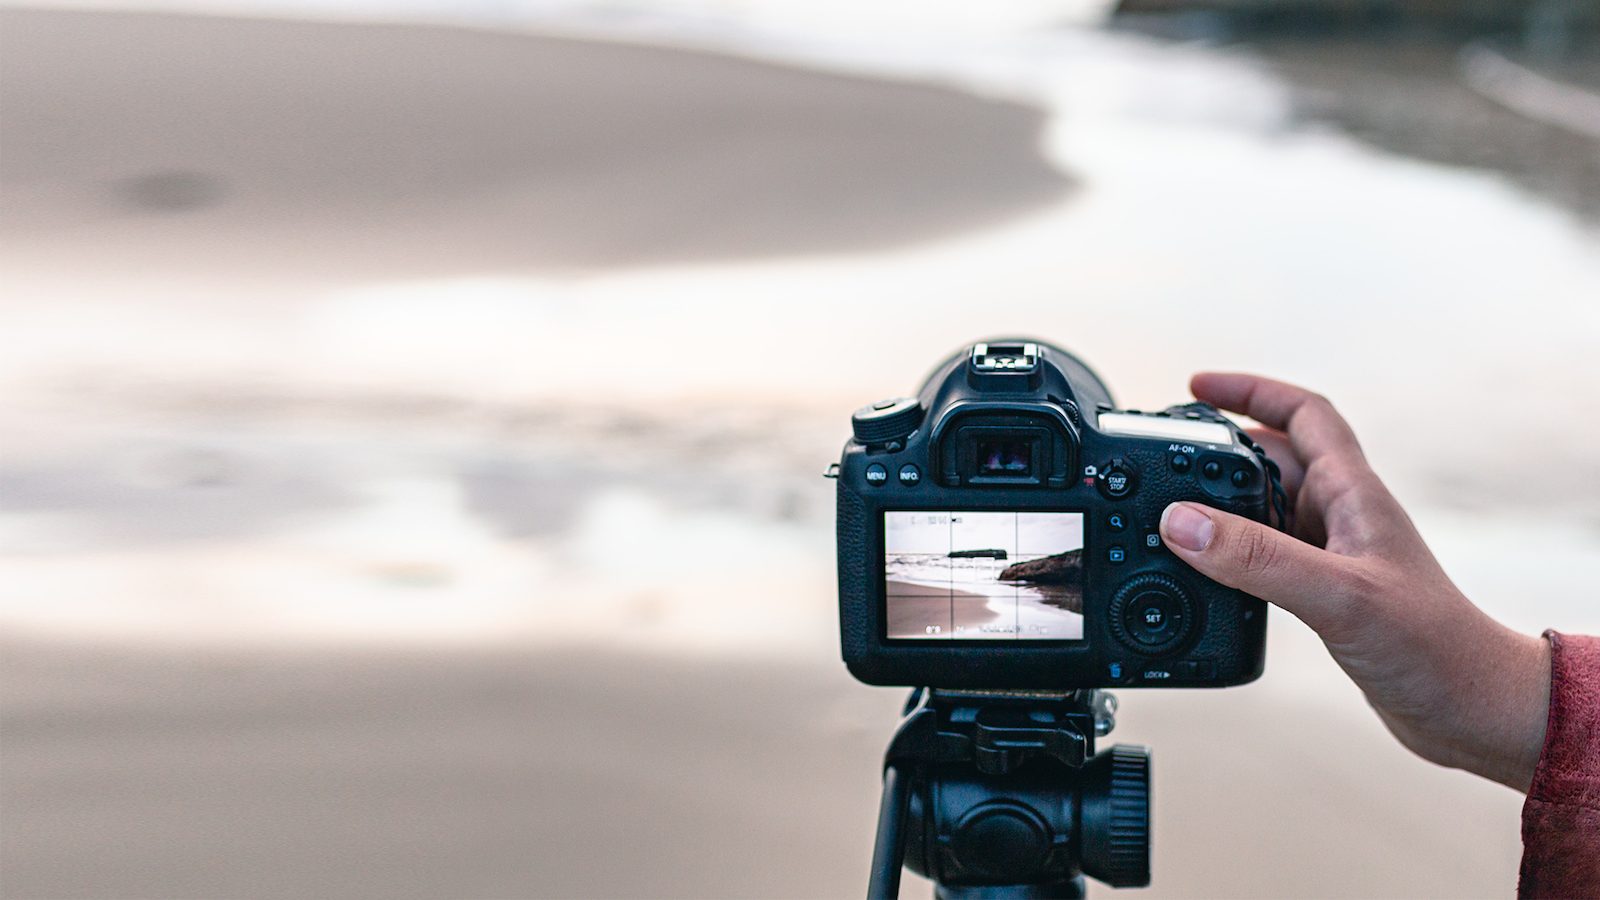
The capture
Now that you’ve got your plan and shot list in order, you can start making pictures that tell your story. With experience, you’ll know when to be inspired by the elements around you—good lighting, an unplanned comedic moment—and when to stick with the shots on your list.
Every good story has an opening, rising action, climax, and resolution—whether it’s as short as a sentence or single image or as long as a serialized novel or photo book. Your job during your shoot is to find a way to capture each distinct part of the photo story as it unfolds.
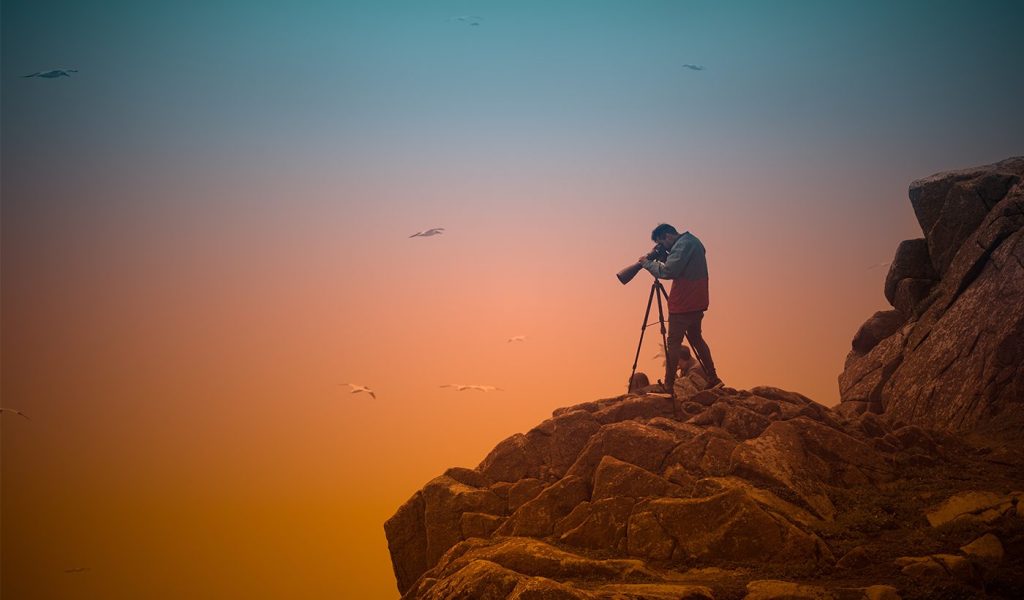
Shoot the beginning
Your story’s opening scene and rising action are about introducing characters, providing context, and stirring anticipation. From the second you set foot on location, be on the lookout for the beats before action. These could be an empty chair before someone sits down, a landscape photography shot showing the locale, or an environmental portrait of your main character showing emotion. As you’re there, keep your establishing shot in mind. This impactful first photo will grab a viewer’s attention, set the scene, and leave them wondering what’s to come.
Narrative photographer Jan Butchofsky spent years with the Mescalero Apache tribe, documenting their young maiden’s coming-of-age ceremonies. She’s an expert at setting the scene and capturing anticipatory moments. In an interview with Dan Milnor, she shared how she always joined the multi-day ceremonies early, helping to set up teepees and unobtrusively making pictures in all the moments leading to the main event. From wide shots to portraits, her photos tell viewers about the person in frame and leave them with questions about what’s to come.
Butchofsky also stresses that when telling private and personal stories, it’s especially imperative to gain trust of the community and do your research. This allows you to provide viewers with the full context of the scene.
Capture the middle
The middle of your photo story can be called the meat of your narrative, your climax, or your main action. Aim for profound and liminal moments that pay off your introductory shots when capturing this all-important heart of your story.
In visual storytelling, the middle is also a great place to get creative with angles and composition. Try unusual perspectives or details that can add depth and intrigue. Get up high, down low, and capture action shots, landscape, and detailed images. When you combine them later on, you’ll get the whole story.
Remember transitions and intermediaries! When in-home documentary photographer Jennifer Tonetti Spellman shoots the middle, she gets what she calls “eye palette images” and transition shots that add to the story and cleanse the gaze. In her work, this looks like detail shots of sticky fingerprints and hair tie collections and snaps of kids scrambling up staircases and tripping over shoes.
Snap the end
After the climax comes the resolution, ending, or even the aftermath. These pictures tell the rest of the story, show closure or transformation, and nod to how things will work out (or not). Documentary photographers might get a candid shot of onlookers’ grieving faces after a tragedy, and wedding photographers might snap the cans strung to a honeymoon getaway car.
This resolution is also your chance to add subtlety to your story with unusual focal points, callbacks to the beginning, and complicated emotions. Don’t feel you need to wrap up the story with a neat bow, especially if the story remains unfinished. Something as simple as a haunting shot of a hand against a doorframe or a changed landscape shot from your introductory image can allow the viewer to imagine their own ending.
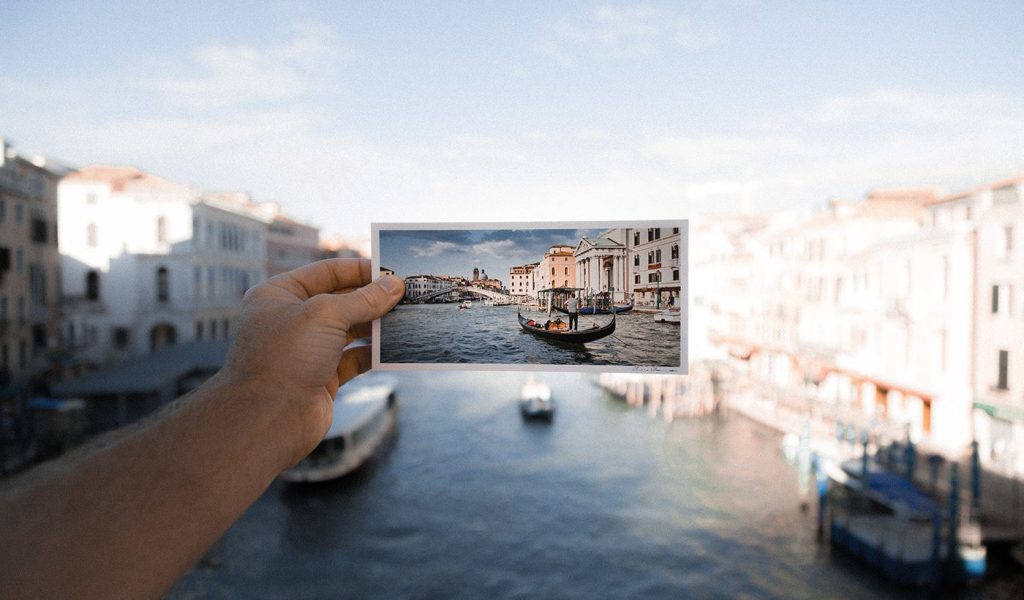
The packaged story
Stories are for sharing. Humans have gathered around campfires to listen to bards well before documented history. There is magic in weaving words, movements, or pictures into a story that others can experience. So don’t let your shoot sit on your camera or get lost in the cloud.
While visual storytelling can still happen around a campfire—today, they most often pass between people on a phone screen, in a photo book, or hung up around a gallery. The choice is yours.

Choose a format
How you share your story often tells as much of the narrative as the images themselves. A series of portraits has a different feel when printed life-sized and hung than it does in a digital carousel on Instagram. Your viewers will have a different experience when touching your photos in a glossy magazine than in a luxe layflat photo album. And the amount of real estate you have to tell your story will affect how you narrate it, too.
Consider your medium carefully. Is your story unfolding in real-time, requiring regular updates? Do you want it to last the test of time? And how do price point and editing time affect your medium? The format of each will shape the story and ask something different from you as its teller.
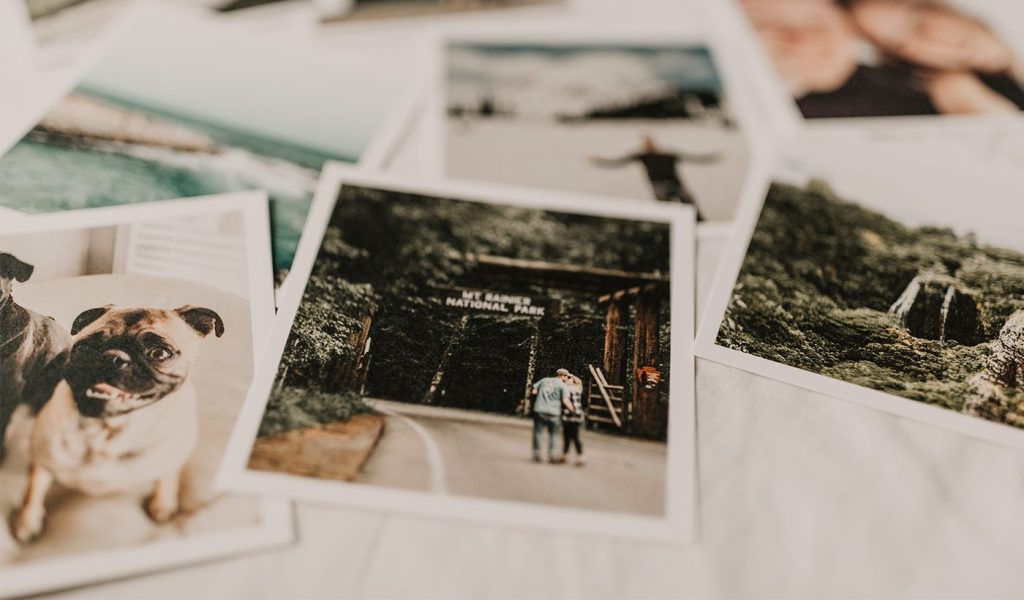
Cull your photos
Just as white space allows visuals room to make an impact, what you leave out of your story is what permits the important moments to stand out.
Culling your photos can be challenging, especially if you’re personally invested. To make it a bit easier, it’s a great idea to make multiple passes or bring in a friend you trust. Remove duplicates, blurry shots, and poorly composed snaps your first time through. Then sort your photos into beginning, middle, and end, and remove the images that don’t seem to fit your chosen narrative.
Take a walk, leave your work for a few days, and then come back with fresh eyes. Which photos stand out most? Which make an emotional impact? Which most closely match the brief and the story you’re trying to tell? Those are the shots to keep.
If you’re looking for more advice on this complex process, Lourenzo Smith recently spoke with Dan Milnor about making photo selects for his newest publication, “Full Frames.” Their conversation explores Smith’s process and offers tons of tips you can follow yourself.
Check out our blog for tips on how to choose images.
Sequence your shots
You’ve culled down your shots and sorted them into beginning, middle, and end. Now it’s time to place them in an order that will tell your photo story in the most compelling and logical way.
Sequencing is an art form that some spend their entire career on. It helps take viewers on a journey through a narrative arc. Think of pictures as chapters, stringing together moments driving toward your story’s apex.
When sequencing, it’s important to play with tension rather than just displaying a series of your best shots, each with the same level of impact. Just as you carefully shot the introduction, rising action, climax, and resolution, you’ll want to sequence your photos to build that tension and then release it.
Of course, not every story begins at the beginning. You might want to begin with the end and then go back to show the actions that led to the final result. Some stories are more abstract—so you may simply sequence by gradually changing the color composition from start to finish. Let yourself play with your photos before finalizing your order.
If you’re feeling overwhelmed, we have a few good pointers:
- Begin with an arresting, question-inducing image.
- Vary your shots—whether that’s juxtaposing a still portrait with an action shot, landscape against detail, or horizontal with vertical.
- Keep the story progressing with shots that build and break the tension.
- Let your audience make connections by purposefully providing gaps.
- End with an impactful shot that provides a conclusion.
Create your final product
The last and often most rewarding part of visual storytelling is creating your final product. You’ve put all the work in, now you get to show it off!
Spend time on this process. Carefully select your frames, canvas, and size if you’re building a gallery show. Toy with whitespace and post type if you’re posting to social media or a blog. And take time with layout, captioning, and paper selection if you’re building a book.
The details can take your story from good to great, so don’t skimp on this step. It’s where the narrative and product meld into one—and it’s worth every bit of effort!
Learn more about building a print publication in this guide to designing and printing a photo book.
Edit your work
Novels don’t get published in their first draft form, comic books get resequenced before print, and photographic stories change, too. Reworking and editing are simply part of the process. And we’d argue it’s one of the most important parts of the process!
You’ve already picked your format, culled your photos, and sequenced your shots. An edit is the final polish needed before primetime.
Think about editing on a variety of levels. You’ll want to edit individual photos via cropping, sharpening, and enhancing. But you’ll also want to consider the overall look and feel of your final product. Zoom out to consider how all the pictures work together side-by-side, and make sure you’re creating a unified composition rather than just a string of pictures.
Revisiting the emotional impact of the entire story can be another helpful editing lens. Plus, you can’t forget to take a detailed look at any captions, text, and even page numbering that might go along with your chosen medium.
Hiring an editor or asking a mentor for feedback is always a good idea. Self-editing can get you fairly far, but if you’re self-publishing or working for a client, a second set of eyes can make all the difference.
Last, but not least, if you are sending a photo book, magazine, poster, or canvas to press, you’ll want to print a proof. Printing a single copy before making a whole run means you can get pixel-perfect precision and catch any errors that made it through your editing process. Just be sure to print another proof and do this step again if you do catch and correct any errors. There’s no worse feeling than only doing a single proof and realizing you introduced an error while correcting another.
***
What story do your photographs have to tell? Make a photo book today.