
Ten tips to make a Blurb book with Adobe InDesign
Already working in Adobe InDesign and want a seamless workflow for your next Blurb book project? Follow these ten tips for setting up and creating your projects to make it easier and help you remain focused on what you do best…create!
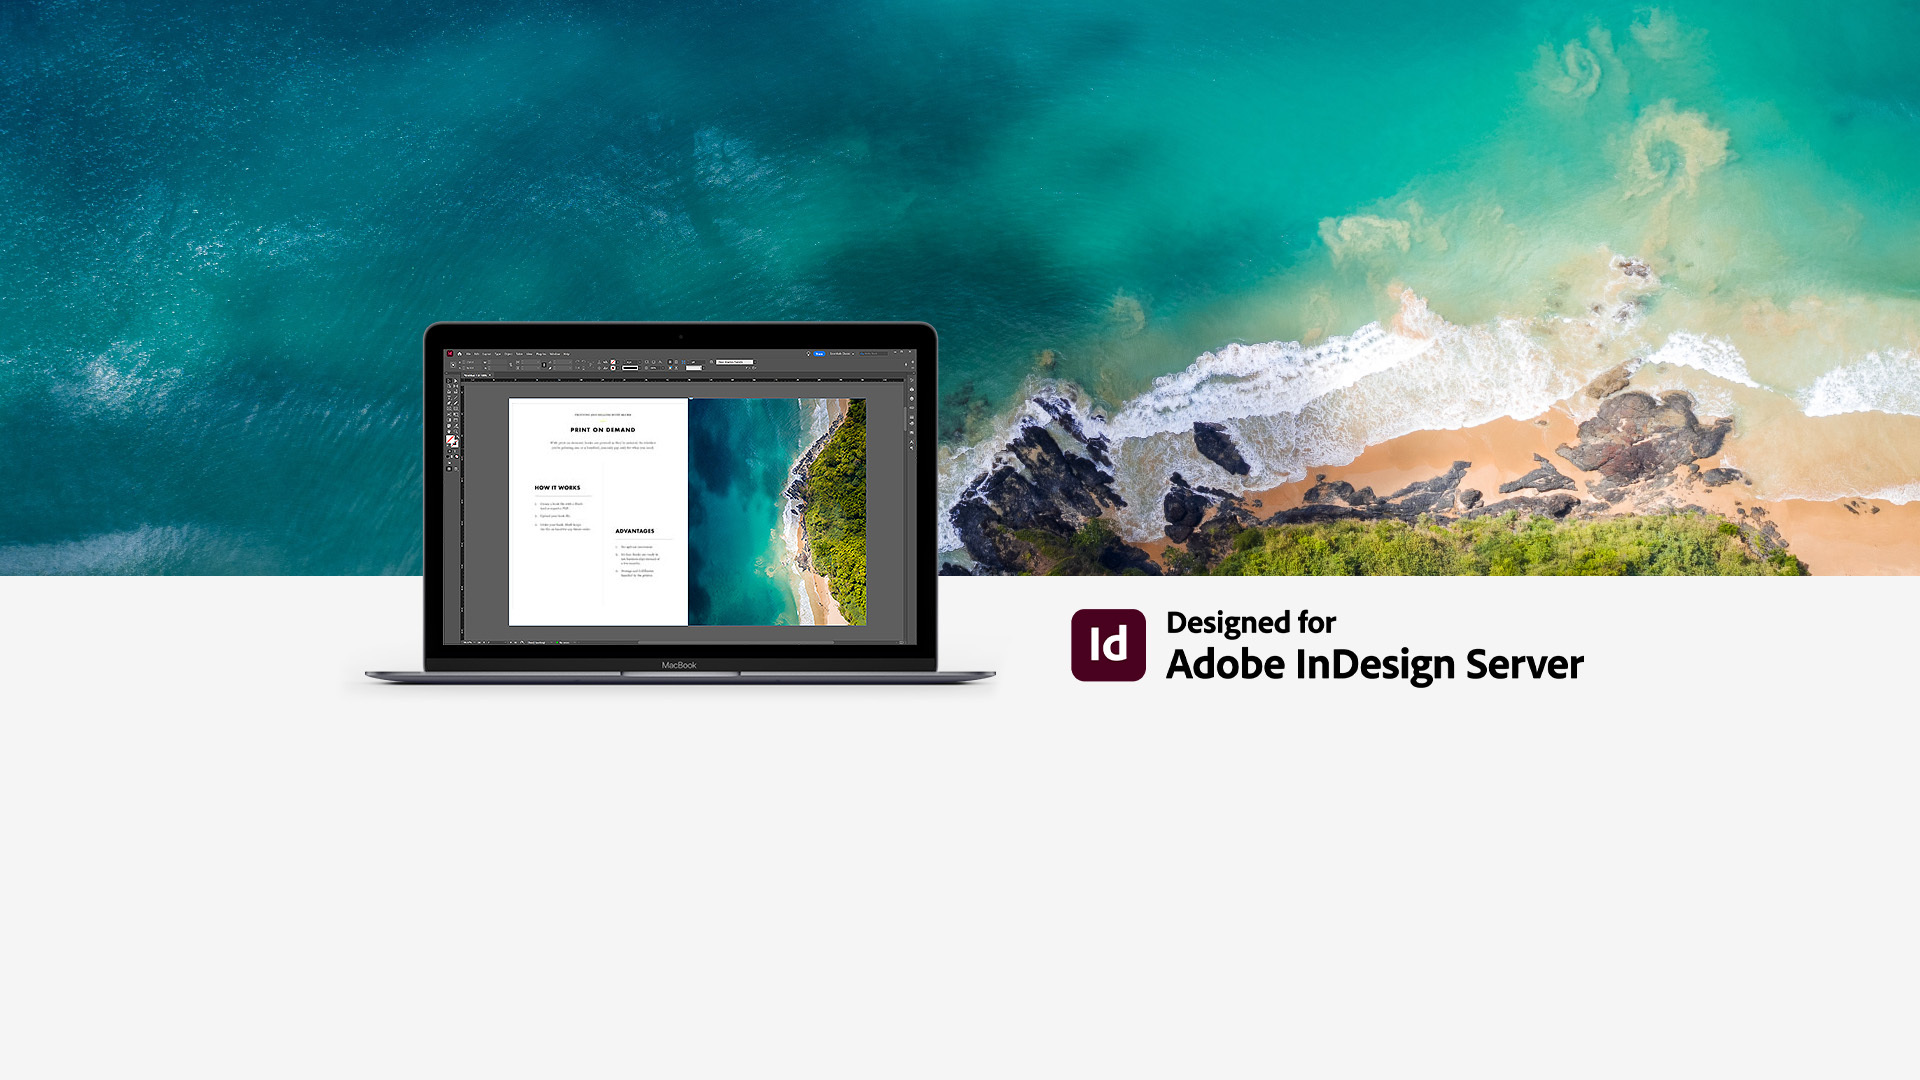
First, download the Blurb Plugin for Adobe InDesign for your version of InDesign and install it. Once correctly installed, you will find the plugin at the bottom of the File Menu, which keeps track of all your Blurb projects. Here are some things to know as you are creating your marvelous books with InDesign.
Do not modify the templates created for your project.
Do not adjust anything with the dimensions of the document once you create an initial template from the plugin. The print-on-demand workflow is very specific, and any changes to document size will cause either a problem or unsatisfying results with your book.
Do not use the registration color swatch in your design.
Adobe should have removed this default color swatch from the swatch menu years ago, but it still is there and should never be used with Blurb books. It causes too much ink to be printed and can actually make your submission rejected by our print devices. If you would like to use a rich black in your design, please create a new rich black swatch consisting of the following mix:
Cyan – 60%, Magenta – 50%, Yellow – 50%, Black – 100%.
Do not use spot colors in your design.
Spot colors do not always convert to expected results when printed. Convert your spot colors to CMYK, then you can be assured of colors reproducing correctly.
Do not use overly complex vector imagery.
One of the things that I have seen cause issues in the past here at Blurb, is using very complicated vector imagery, usually created in CAD applications or complex Adobe Illustrator files. Rasterizing these images in Photoshop will resolve this. If you are unsure whether your images may be too complex, a simple test of exporting the InDesign document containing the images using the Blurb PDF Export preset and then viewing in Adobe Acrobat/Reader. If you notice a delay as Acrobat/Reader draws these images on your screen, it is a good bet that when trying to render these images at a much higher resolution on a printer, could cause an issue.
Create your cover template after your inside page design is complete.
Though inside page dimensions will always remain constant, the cover document will change depending on the paper type and page count of your book. Different paper types have different thicknesses, and obviously, a book with more pages will have a different spine width. Once you have decided on paper type and you know your final page count, then return to the plugin, and create your cover template.
Note the instruction layer.
Be aware of the safety, trim, and bleed lines on the Instruction layer of your template. Keep all important text or elements within the safety area. Be sure to extend any images you want to go to the edge of the trim all the way out to the bleed line.
Order a proof copy.
If you intend to order a large quantity of books, we recommend ordering first a single copy to review. Many things can be missed while reviewing online, and a single proof copy to review is insurance that everything will print as you intend.
It may add a little time to your workflow, but the assurance that a large order is going to print correctly is peace of mind.
Upload your project directly through the Blurb InDesign plugin.
Though Blurb offers a PDF upload for projects, use the plugin to upload your book to Blurb. We have created specific preflight and correction features that are only available when you upload directly within the plugin. You will get better results and fewer obstacles/surprises by uploading within the plugin.
Learn more about Adobe InDesign and the Blurb plugin.
This post doesn't have any comment. Be the first one!