

What is a book dummy and how to make one: the ultimate guide
Editor’s note on language: In the book business, a “dummy” is a mock-up of a proposed publication. It is not in reference to any offensive term.
How do you plan out your book, collaborate on illustration and copy, and sell it to a publisher? If you’re here, you can probably guess that it’s with a book dummy! They’re an important part of the process of printing your book—especially if you’re crafting a children’s book, illustrated book, or any other kind of picture book.
Why? Well, if you’re nearing the end of your bookmaking process, it’s a good idea to lay out all the words and images of your story in sequence. This will help you determine if your book is the right length, your illustrations work well with your copy, and the story flows smoothly from beginning to end.
But even if you’re not about to hit print, book dummies can be great for kinesthetic creators who need to physically move things around to get them just right. Before settling on the exact words and visuals, dummies can help you figure out pacing, plot, and even illustration style.
In this article, we will discuss what a book dummy is and why it’s so important in the publishing process. Then we’ll provide tips on how to create one yourself (including how to use print-on-demand services to make the process easier than ever) and what to do with it once you have it!
What is a book dummy?
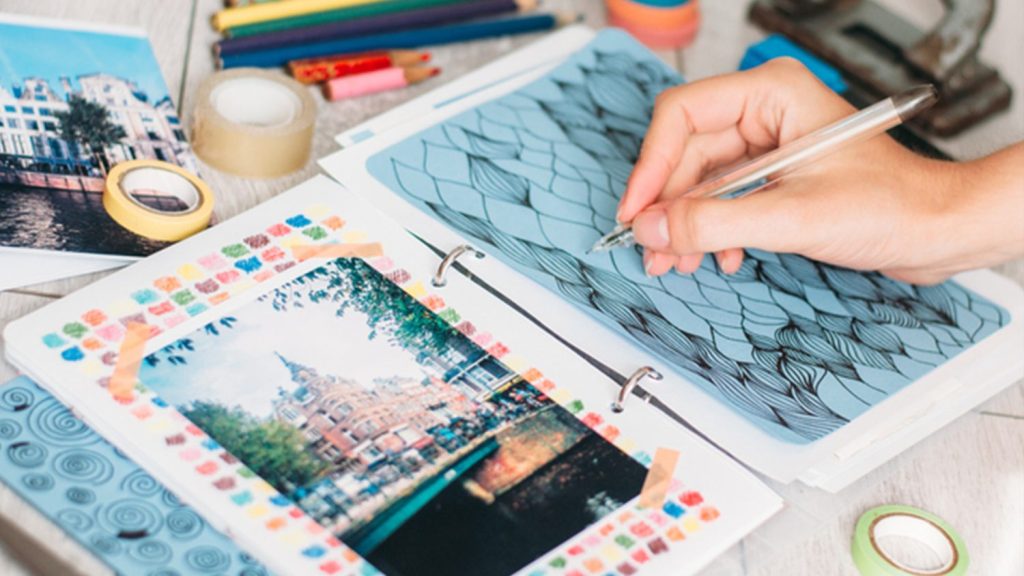
A book dummy is a physical representation of your book. It’s essentially a mock-up of the final book, complete with all the text and visuals in their correct positions. Making a book dummy is an essential step in the publishing process, as it allows you to envision exactly how your book will come together and ensures everything is in its rightful place.
Not only that, they help others visualize your finished book—which is crucial when it comes to getting book deals! In fact, most book agents and editors will not even consider a book that doesn’t have a dummy. That’s because, especially for unpublished creators, they want to see that you’re serious about your book and that you’ve put in the time and effort to create a professional-looking product.
Why is a picture-book dummy useful?
Whether you’re an author, designer, art director, agent, publisher, or editor—you’ll likely benefit from a book dummy. Usually, a picture book starts with an idea, turns into a storyboard or map, and ends up as a book dummy before getting proofed and printed.
These physical mock-ups help authors, illustrators, and anyone else who’s collaborating to see how text and illustrations work together on each page and spread. They provide a sense of the book’s overall design and flow, helping creators ensure the book is easy to follow and all aspects complement each other. Similar to a proof copy, book dummies can also be used to catch any errors or typos before the book goes to print, which is really important if you’re self-publishing.
But picture book dummies are not only helpful for the bookmakers—they’re also vital for book editors, agents, and publishers. As we mentioned before, most picture book submissions will not be tossed out without a dummy—so use them wisely during the publishing process. This is your chance to accurately communicate your vision for your book in a physical form.
How to make a book dummy
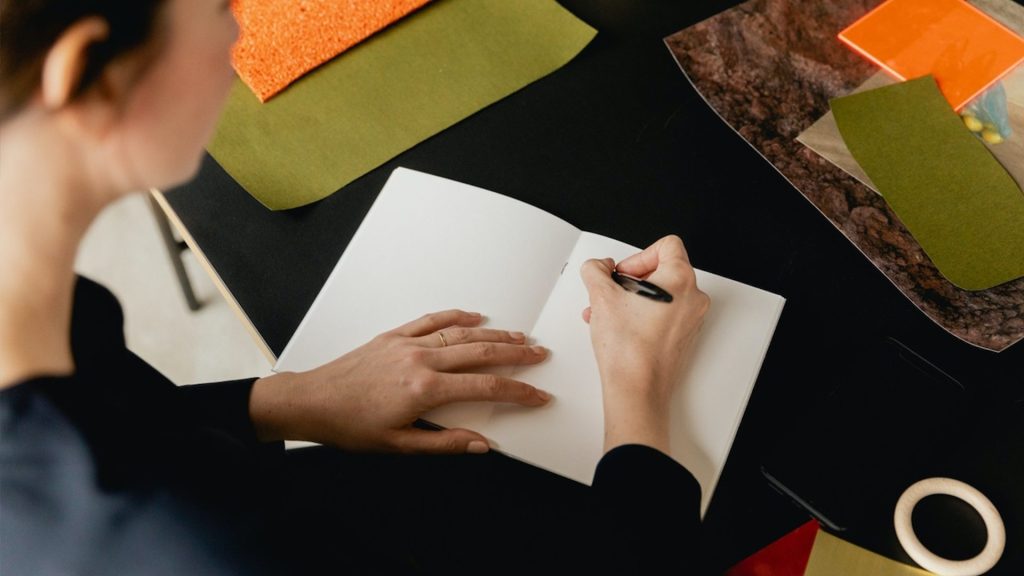
Now that we’ve discussed the what and the why, it’s time to make one. The good news is you don’t need to be a professional designer or professional printer to create yours—all you need is a printer and some basic materials.
Here are the steps you’ll need to follow to create your own:
1. Gather your materials
First, you’ll need to gather all of the materials you’ll need:
- 8+ sheets of blank paper (we recommend card stock)
- A ruler or measuring tape
- Scissors
- Bone folder or butter knife
- Tape, glue, staples, or thread
- Your manuscript
2. Measure and cut your blank pages
Are you making a square, portrait, or landscape book? Is it travel sized or oversized? All of these questions come into play when picking your trim size.
But whatever you’ve chosen, it’s important to cut your blank paper to size. This way, you’ll get a realistic impression of your final product.
Start with your large pieces of paper and cut them to size. For a classic 8- by 10-inch portrait trim size, pick eight blank sheets of 11- by 17-inch card stock. Then measure and cut it to 10 by 16 inches, one inch off each side.
3. Assemble your pages
Now that you have all of your paper measured and trimmed to be the same size, fold each page in half. It can be helpful to use a bone folder, which will give you a nice, clean fold. If you don’t have one, simply use the blunt edge of a butter knife or your fingernail.
4. Bind your book dummy
Once each page is folded in half, it’s time to put it all together! You can do this in a few different ways:
- Tape: Use double-sided tape along the center fold to stick each page together. Make sure to use a few small pieces, or you’ll have a deep gutter.
- Glue: Apply a thin layer of glue along the spine of one page, then place gently and firmly into the center fold of your next page.
- Staple: This is the quickest way to put your book together, but it’s not as professional looking. Simply stack all of your pages together and use a saddleback stapler to hold them together at the center.
- Thread: This method is a little more time-consuming, but it looks beautiful. Start by folding each page in half, then make tiny holes along the center fold with a thumbtack. Once all your pages have holes, use a long piece of thread to sew them all together.
And that’s it! Paste in the copy and illustrations, and you’ve now created your very own book dummy.
How to use print-on-demand
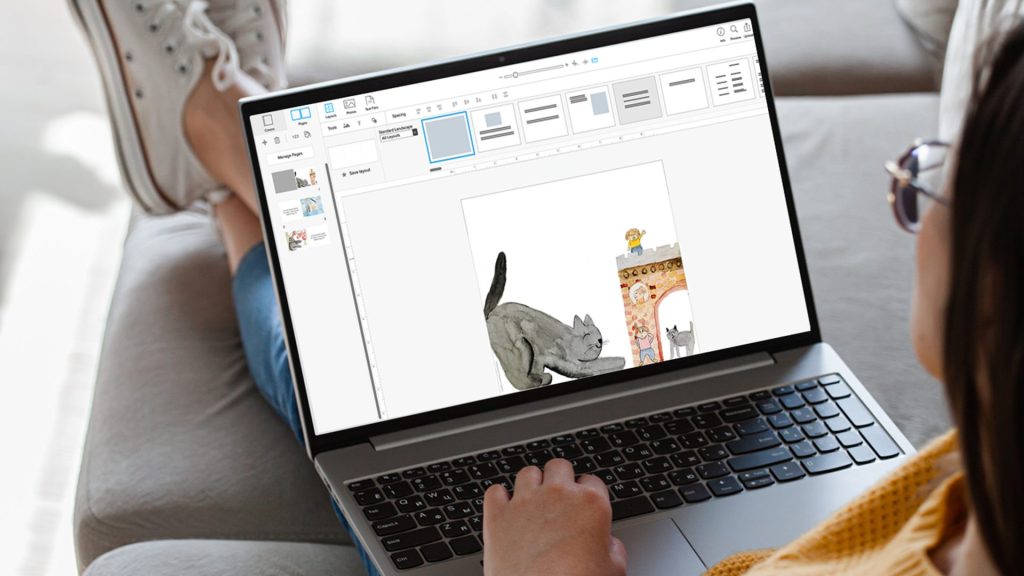
If cutting and taping, stapling, gluing, or sewing isn’t your favorite way to spend an afternoon, there’s an easier way to makea book dummy. Plenty of online book printers (like Blurb) offer print-on-demand services, which means you can order printed books one at a time without having to worry about minimum orders or storing a bunch of books.
This is perfect for creating book dummies because you can order as many—or as few—books as you need, and you don’t have to worry about what to do with the extras. Plus, most online book printers offer a variety of paper, cover, and bookbinding options, so you can choose the perfect look for your sample.
We’d recommend laying out your manuscript and illustrations in your favorite online editor (like Photoshop, Illustrator, or Blurb’s BookWright). Play around with spreads and pacing. When you’re ready, simply upload and hit print.
Since it’s all digital, you can quickly iterate, make edits, move visuals and copy around, and print as many as you need at once. This makes it easier to collaborate with your team and send out as many as you need to your dream publishers if you’re going the traditional publishing route.
How to use your dummy
When you finalize your booklet, whether physically at home or digitally with your preferred printing company, you should use it wisely.
Here are the questions that we ask ourselves when we get our first physical copy:
- Do any pages feel empty? Or too filled with text or illustration? (Hint: Typical 32-page picture books have 13 evenly paced, double-page spreads.)
- Do the spreads work together? Do the page design and art move the story forward?
- Are the characters and premise captivating right away?
- Is there enough of a plotline in the middle to keep pushing readers along?
- What happens in the end? Is there a surprise, necessary conclusion, or new connection?
- How is the pacing? Does the story peak too early? Or leave too much to wrap up at the end? (Hint: Most children’s books hit their peak around page 30.)
- What’s the one-sentence summary of the book?
- And above all: Is the book clear? When you read it out loud, does it sound conversational? Are the visuals and copy legible and understandable on every page?
Once you feel satisfied with your book, you can use it to collaborate with others! Here’s how:
- Catch errors: When you have a fairly finalized sample, take time to read it through a few times. Then pass it to someone else to catch errors or typos you may have missed.
- Get feedback: Beta readers, mentors, friends, family, fellow bookmakers—the more feedback you get on your book, the better!
- Apply for grants and contests: If you’re seeking funds to support your bookmaking process, mock-ups can be helpful in the application process for certain grants and contests. Use yours to get the finances you need to finish.
- Impress editors, agents, and publishers: Last but not least, you’ll likely need a book dummy if you want to traditionally publish your book. It’s a great way to show off your illustrations, book design skills, and overall story so you can sell your book.
Creating a mock-up is an extremely helpful way to visualize your book and make sure all the elements are working together. It can also be used to get feedback from others, apply for grants and contests, and impress potential publishers. By following the steps in this guide, you should be able to make a book dummy that is both clear and visually appealing, no matter how you’re planning on using it.
Ready to make your own? Self-publish your book today!