
Creating Beautiful Food in Photographs
We use all of our senses when eating. We eat with our eyes first. We anticipate what our experience is going to be at first sight. Then we use taste and smell, of course. But the texture of food, the sounds it makes, are just as important. All of the senses have to be indulged when looking at a food photo. The photographer has to draw on memories of the viewer and use a two dimensional image to create a sense of taste, smell, texture, and sound. In addition, the photographer has to tell a story and draw on the emotions of the viewer. Food photography is not easy.
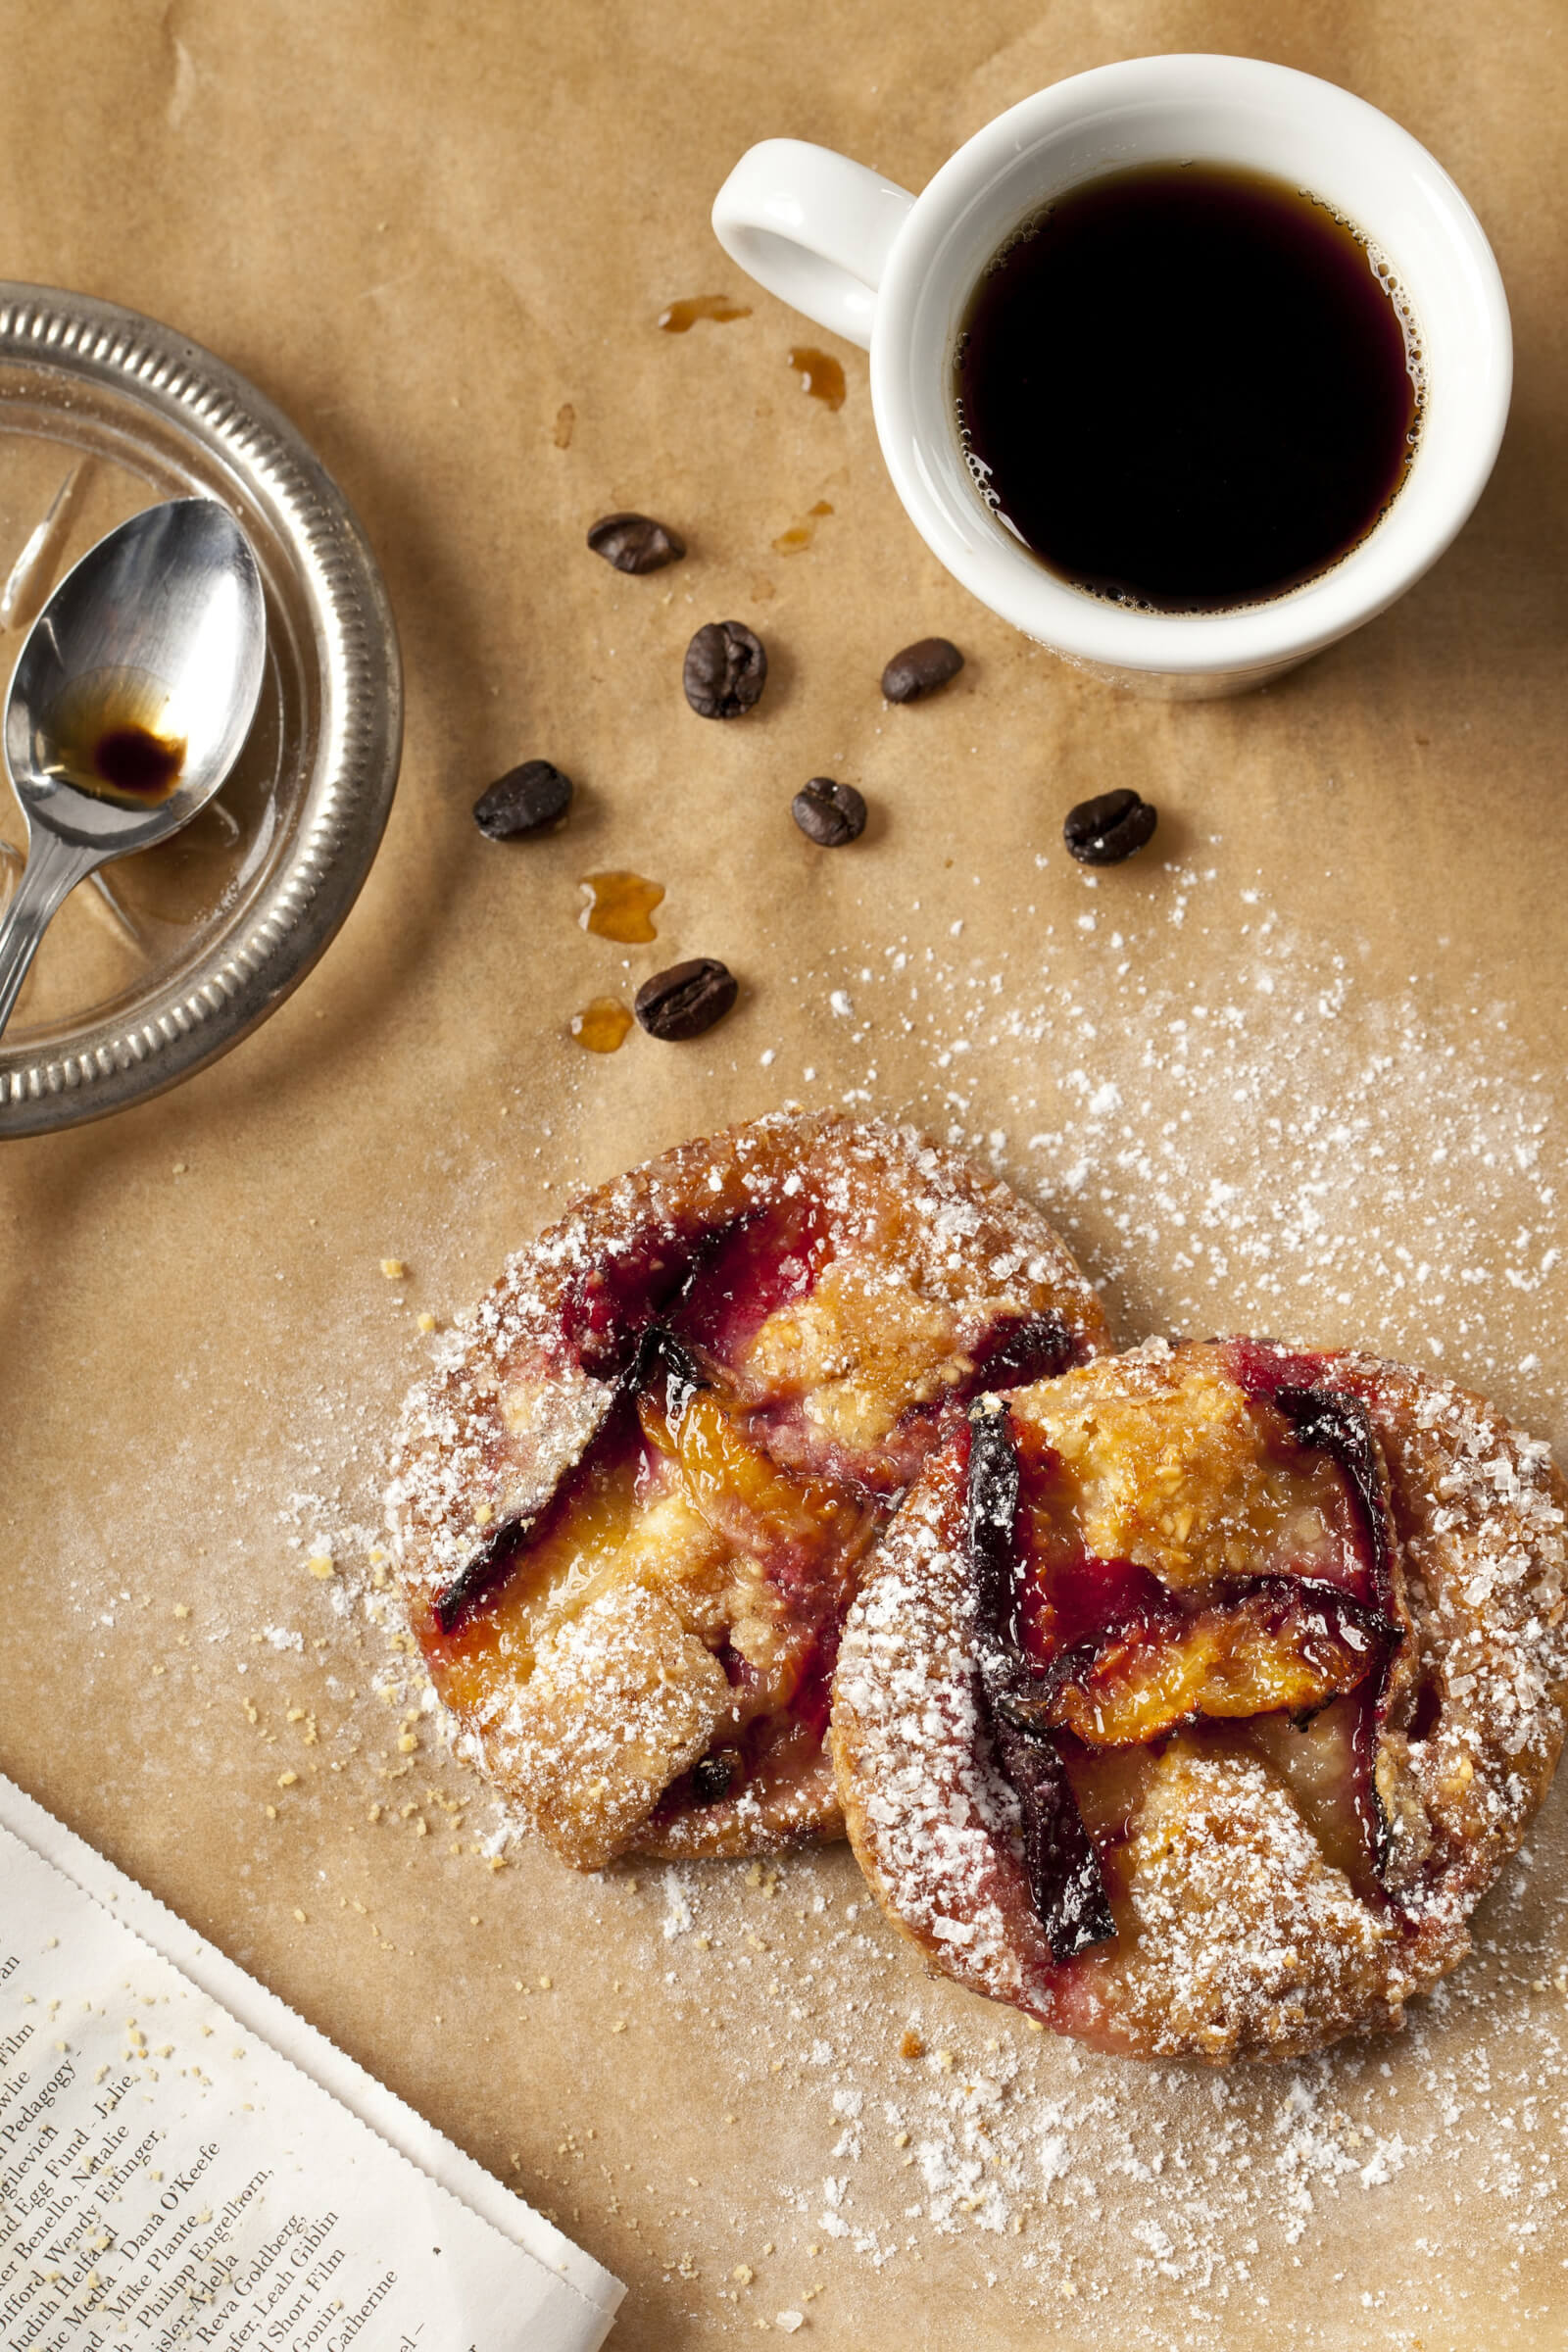
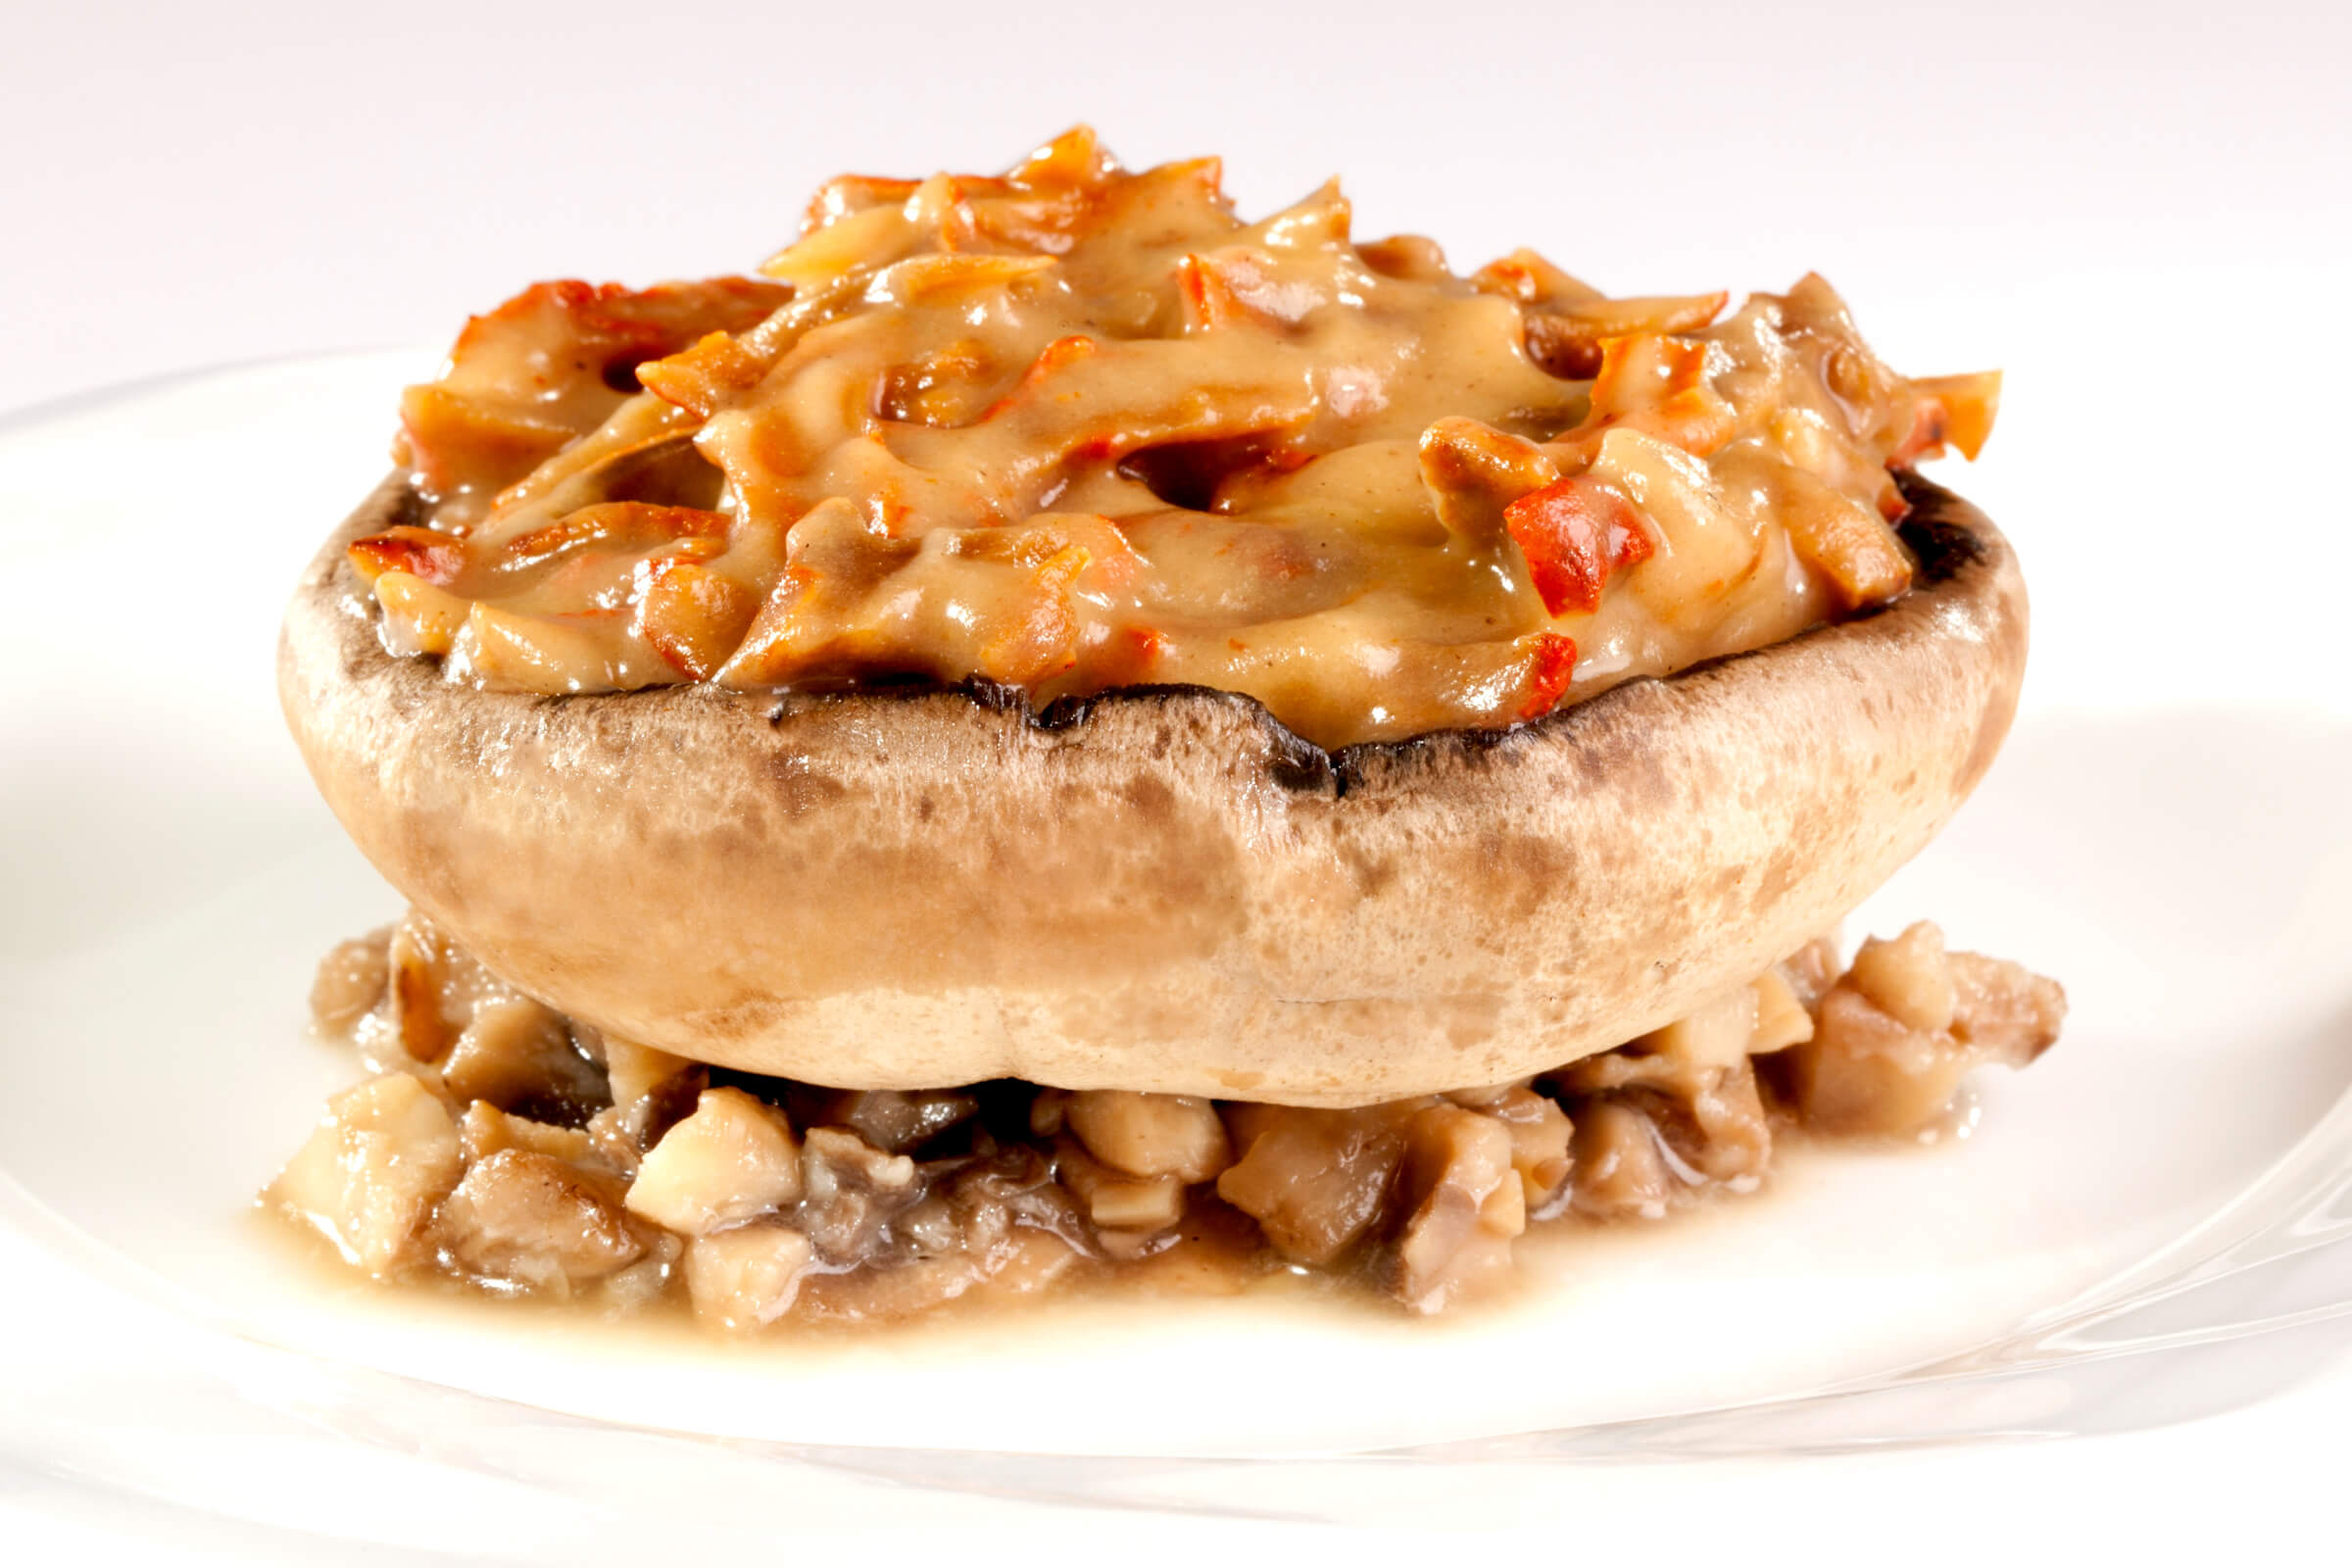
The task is a little easier if you start with beautiful food, but not all food is beautiful. Much of the time, it is brown mush. When the food is beautiful, show its beauty, and do not distract from it. If the food itself is not a work of art on the plate, use props and, of course, light to make it beautiful.
Many photographers just starting out simply point the camera at the food and accept what the camera records. But, this may not be what the photographer has seen through their mind’s eye. Once the plate is placed in front of you, the work begins. Here are some tips that for beginning food photographer that will greatly improve his or her images.
1) Don’t use the on-camera flash.
Light coming straight at the food from the direction of the camera is not flattering. Place the food near a window and have the light come in from behind or to the side. Using a tripod helps tremendously. If you use the clock analogy, with the food in the center of the clock and the camera at 6 o’clock, the light should be coming from somewhere between 9 o’clock and 12 o’clock (or 3 o’clock and 12 o’clock).
2) The bigger the window, the better the light but, don’t use direct sunlight. Direct sunlight causes harsh shadows and high contrast.
Filter the light or use indirect sunlight. A white translucent shower curtain makes a good filter. A white reflector card can be used on the opposite side of the food to lighten the shadows. You can even use mirrors to create highlights but be careful and don’t over do it.
3) If your food has texture, show it. Light from the side and show the texture. Shadows show textures so don’t be afraid of shadows. Keep shadows soft by using reflectors and large light sources. Harsh, dark shadows are usually not pleasing (although there are always exceptions).
4) If your food has height, show it. Shoot at a low camera angle. If your food is flat, but graphical, shoot from above. If you can’t decide, try shooting from a diner’s point of view. Shoot if from all points of view.
5) Watch your background and make sure that it doesn’t take away from what you want to say in your image. Your photo has one hero and that hero should be the food-not the props or the background. Don’t overdo props. Props are supporting characters for your hero. If the prop does not bring your attention to the hero or the story you are telling, you don’t need it. It is just a distractor.
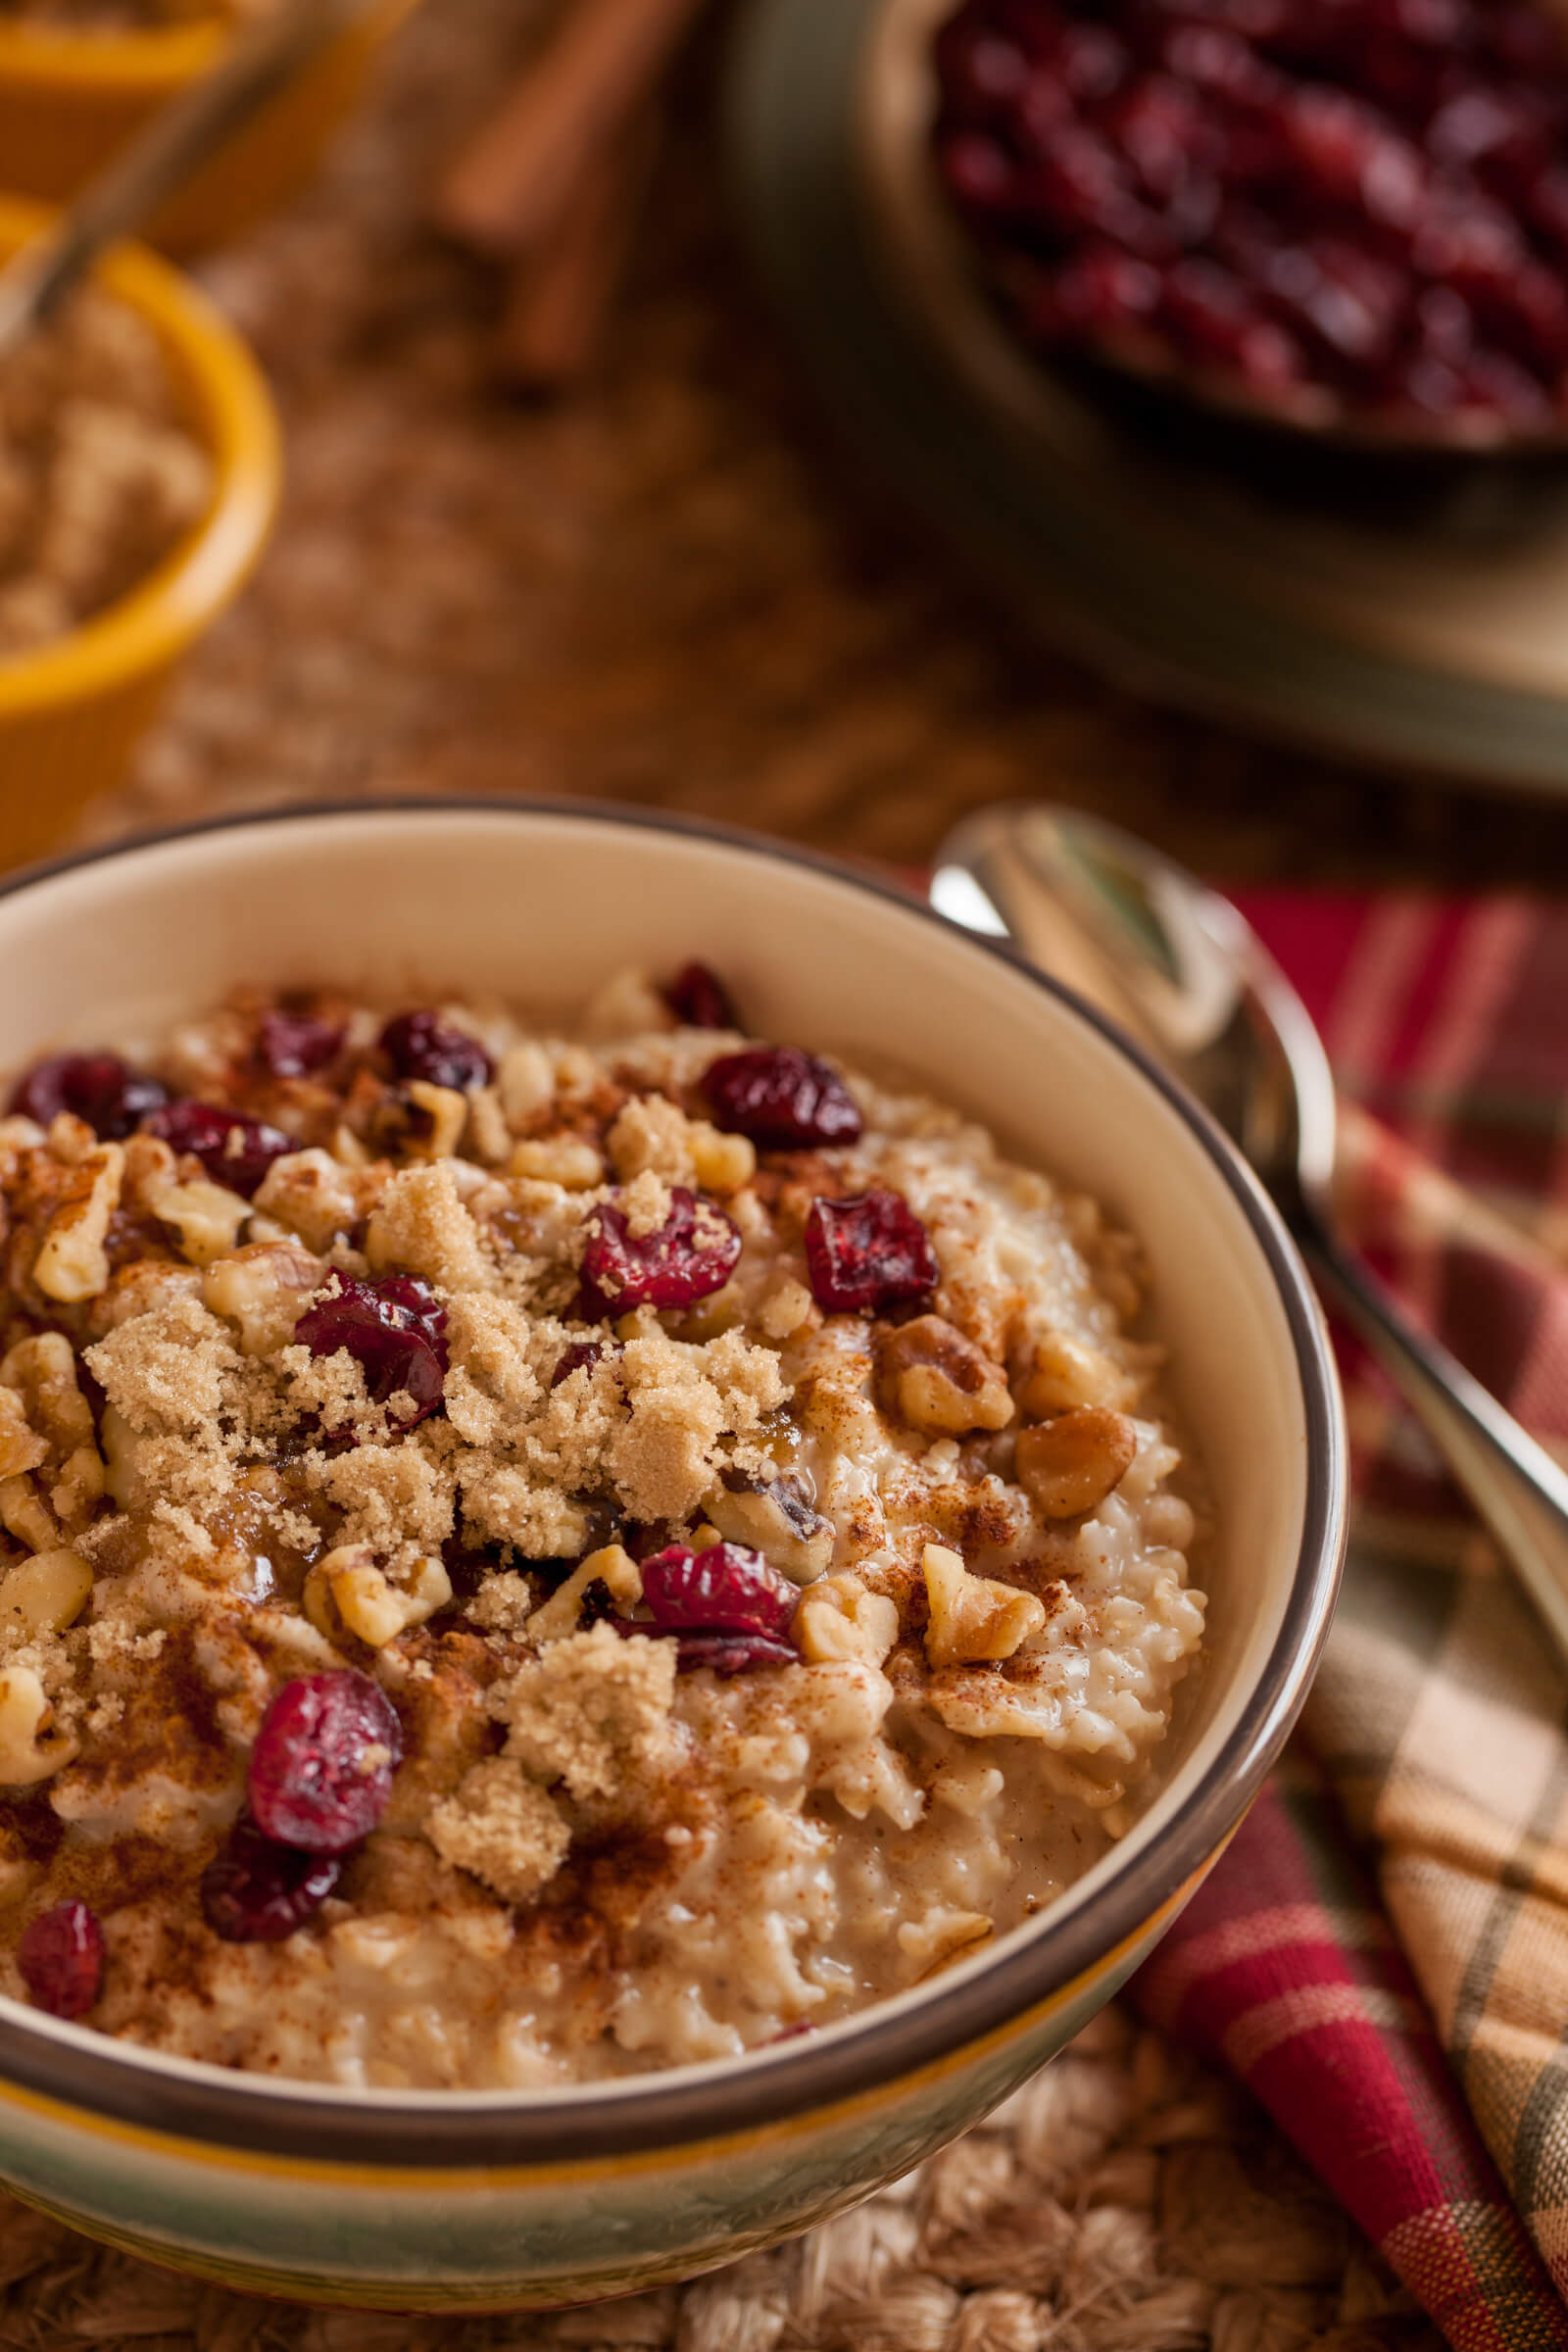
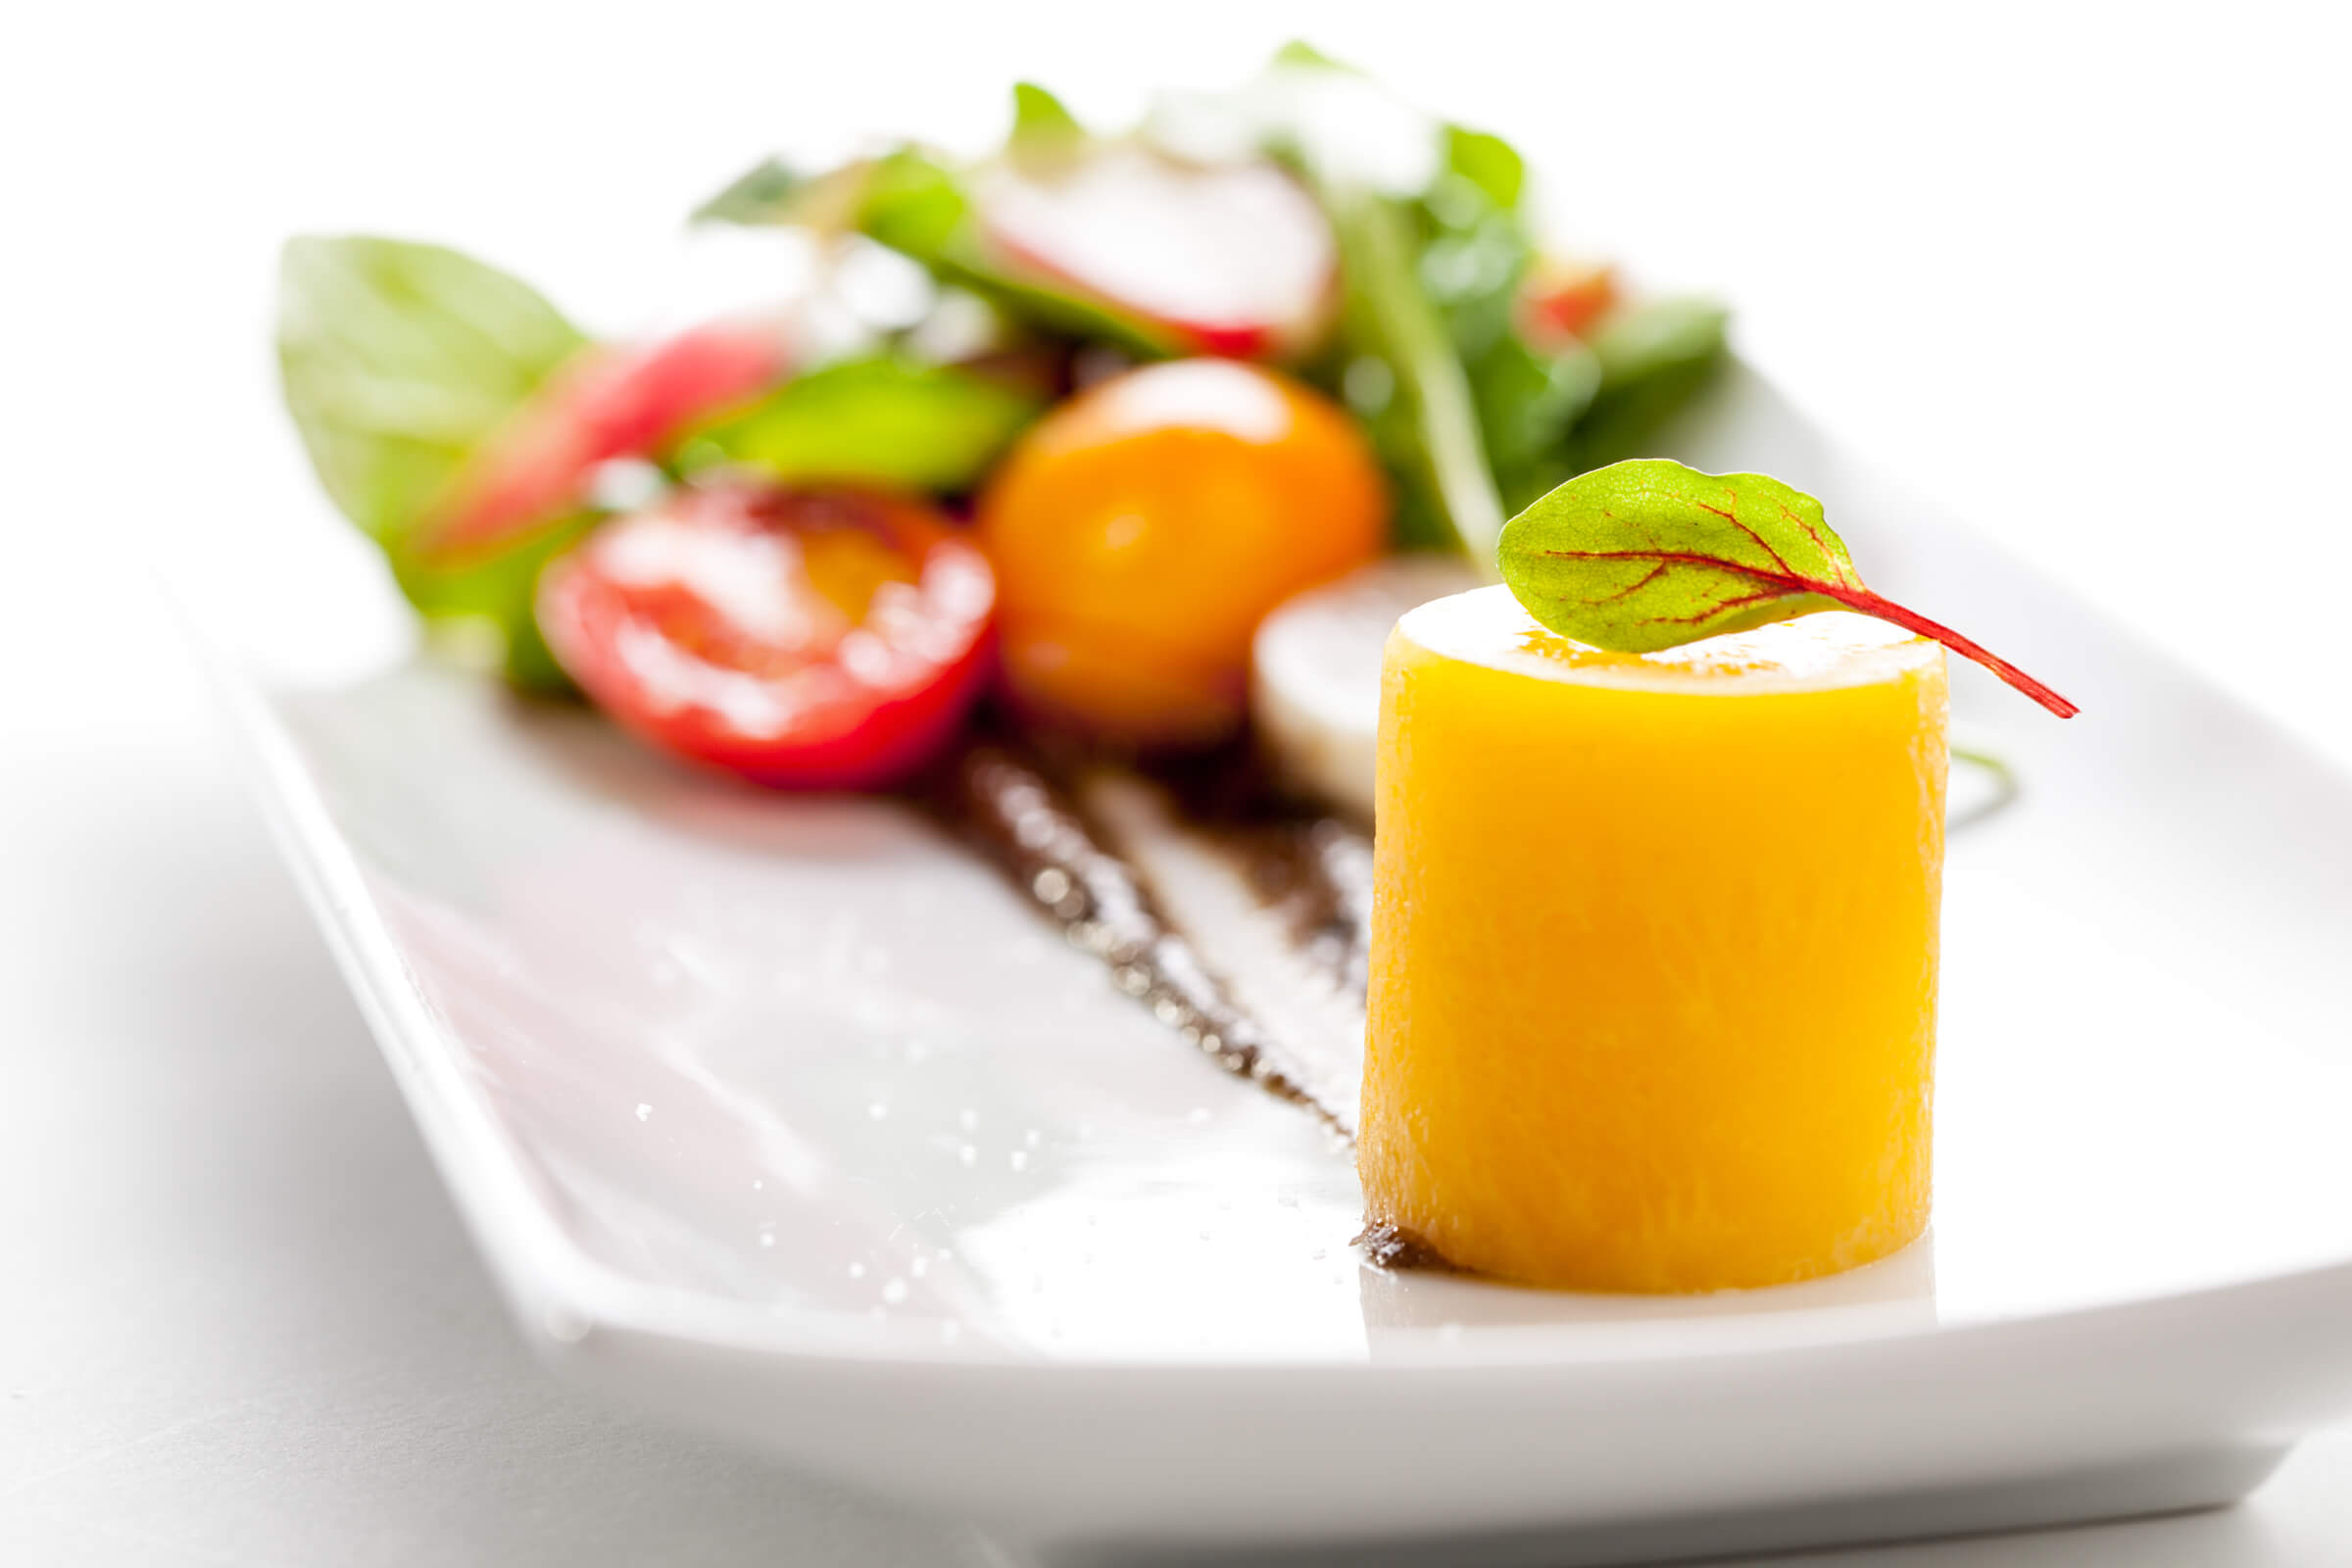
6) Carefully consider your colors. Colors of the background and props should compliment the food. Choose your plate carefully. Don’t let patterns on your plate distract from your hero. A white plate is usually a safe bet.
7) Depth of field is important. Do you want to show detail from front to back or do you want to blur backgrounds to direct the viewer’s eye. You control depth of field with your aperture so I never let the camera pick the aperture. Shoot in Manual mode (M) or Aperture priority (Av on Canon or A on Nikon). If you have shallow depth of field (large aperture), be careful of out of focus subjects in front of the hero. These tend to create a barrier and block the eye from exploring the image. Keep out of focus foreground subjects in the corners and on the edges.
8) Use all of the compositional tools to make the food your hero. These include depth of field, leading lines, cropping, curves, balance and color. You want the view to look at the food, not the napkin, the fork or the background.
9) Food must always look fresh. This may require you to undercook to prevent drying out, brushing on water or oil to keep it looking moist, spraying with water to make it look fresh. Nothing makes a hamburger look worse than dry meat and wilted lettuce.
10) Work the subject, change your angle and change your distance. You will be surprised at what you find when you come in closer and find the image within the image.
Blog post written by Jerry Deutsch, author of Fine Tuning Your Food Photos which he created using Blurb tools. Photography has been Jerry’s passion since he was introduced to it in high school. Following a career as an event photographer and an educator, Jerry has pursued his dream of being a commercial still life photographer, specializing in food. Jerry combines his aesthetic sensibility and technical prowess to produce amazing photos. Jerry’s slogan, “It’s all about the light!” is evident in every image he produces.
Learn more about how other people are making and selling great food books on the Blurb Cookbooks page.
This post doesn't have any comment. Be the first one!