

Hit the Books with Dan Milnor: How to Self-Edit
Editing is an art form and, in some ways, is just as important as making photographs. But like all creative skills, editing takes time, patience, and practice.
If I use my mental time machine, I can transport myself back to 1988 when I was a fledgling photojournalism student. To say that I was green is a major understatement. Photojournalism was not my original life plan. Not even close. My original plan was to study geology, but due to an unforeseen loss of my student transcripts, Plan A quickly became Plan B. I found myself at a small community college, which was the home of one of the best journalism programs in the United States.
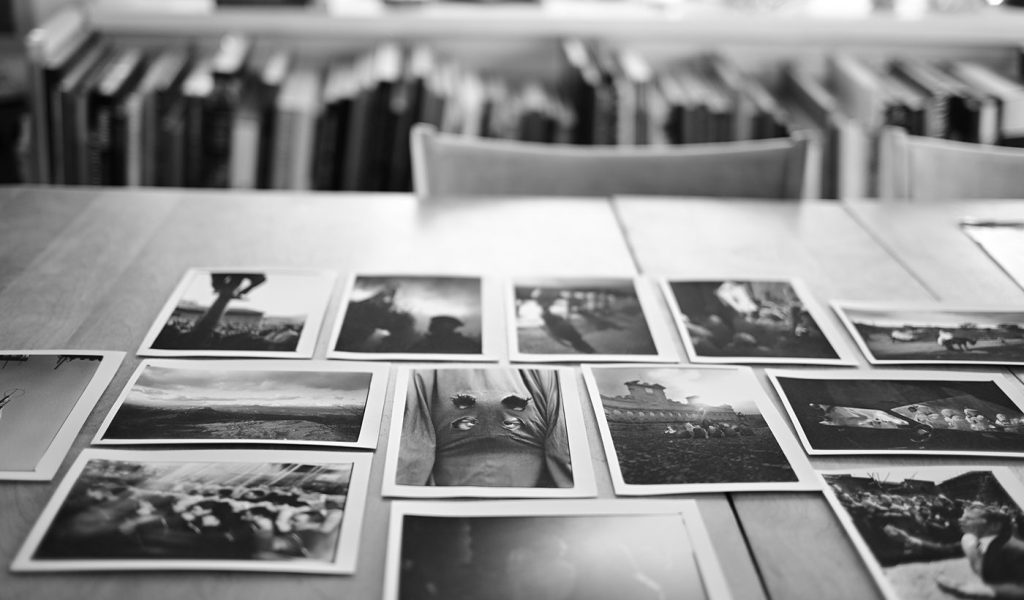
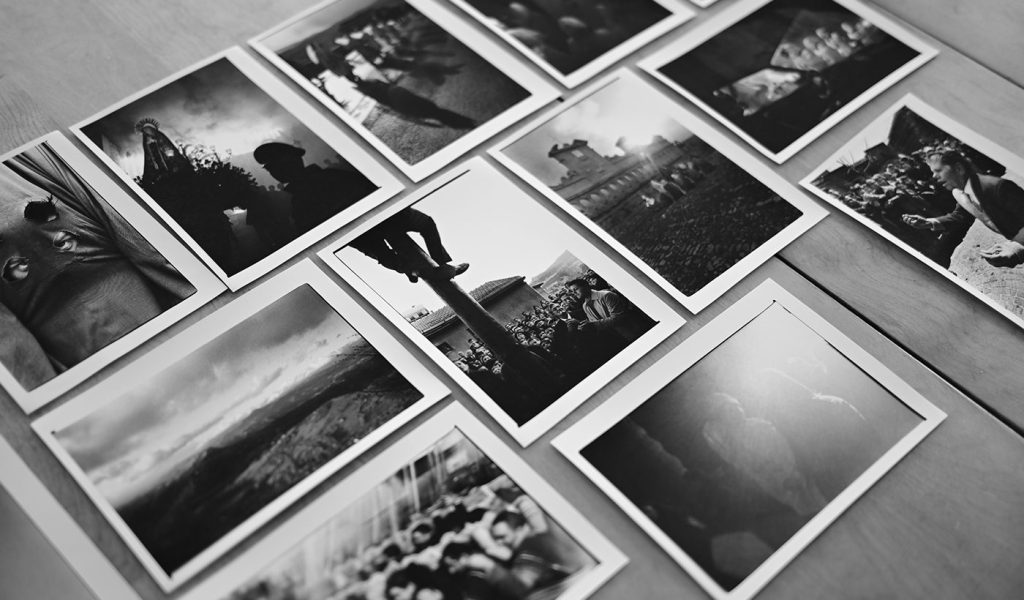
For some reason I can’t remember, I had started to carry a camera around, documenting the random and mundane aspects of my freshman life. One day, while sitting in the cafeteria with my friends, I placed a series of small, 4×6 prints on the table to show off.
As my friends ignored my efforts, a faculty member walked by, leaned over, and asked, “Who took these?” Thinking I had done something wrong, I said, “Not me.” After several uncomfortable moments, I fessed up to making the pictures. The faculty member looked at me and asked, “You want a scholarship to be a photographer?” The rest, as they say, is history.
I didn’t know it at the time, but that fateful moment would not only change the entire direction of my life but was also the moment I began my editing education. Journalism doesn’t suffer fools, and photojournalism is the same. Newswriting requires training and is hyper-structured, specific, and formulaic, built to deliver a concise message to the masses. News photography, or photojournalism, often requires the same level of training and refinement, forcing the photographer to encapsulate an entire story in a single image. So, when it came to learning how to edit under high-stress, high-pressure situations, my introduction to photojournalism was the perfect crash course.
Historically, photographers aren’t known as master editors of their work, which is why professional, full-time photo editors have been a staple part of the industry for so many years. As a news photographer, I would return from an assignment and a photo editor would be waiting for me. Every single assignment had to pass inspection. My slides or negatives would sit on the light table until the editor would pick up their loupe and begin the great culling.
This was incredibly stressful and didn’t always end well. Working in tandem, however, was an incredible education because the distance the editor had from the experience of making the images, made it possible for them to study the relevance of the photographs without any emotional attachment.
How to self-edit your photos
As you can see, I was fortunate to learn my editing skills from dedicated professionals, but I also realize that most people were not afforded this opportunity, so what advice can I share for those who are just starting?
First, let’s begin with my favorite cliches.
Less is more.
Nobody wants to see 500 images of your vacation. They don’t even want to see 100. Truthfully, they only want to see four or five images of your vacation, at most. What were the absolute best, most poignant moments? Start there.
One scene, one photograph.
That’s it, nothing more. If you made 20 images posing in front of the Eiffel Tower, nobody needs to see more than one of those. So, study all 20 slowly and in detail to determine the absolute best image. Study the light, study the background, and study the subtle differences in facial expression to determine the image that holds the most emotional and visual value.
You are only as good as your weakest image.
For those of you working on stories, or attempting to make themes with your photographs, remember that you are only as good as your weakest image. I told you I love cliches. But it’s true. If you choose 10 images from your project and nine are solid but the tenth just doesn’t hold up, most viewers will focus on that one subpar image. Just because you like an image doesn’t mean it fits with or adds to the theme. You must be ruthless.
Start with a number.
One easy exercise to get started is to assign a specific number of images as a target for your final edit. Let’s just say 25. I’m using this number because, on a recent trip, I made 2,676 images over 10 days and edited that number down to 30.
After you assign this number, and after the potentially challenging time of getting to 25, ask yourself which ones comprise the 10 best. How about the single best image? I don’t want to hear, “This is impossible,” because it’s not. It’s just editing.
What’s your cover?
And seeing as this is a story written for Blurb, we need to talk books. One last challenge. You’ve made it to your top 25, and then down to your 10 best, and you’ve even determined what you consider to be the best single image.
Now, ask yourself, what is the best image for the cover of your book? Hint, it might not be the same image as your single best. Editing for a cover means you need to find an image that is both visually stunning and informational. Remember, photo books have a narrative, which means that cover image must be an integral part of the story and must capture the attention of a passing potential reader.
Remember those massive puzzles we used to complete as children? That is precisely what editing your photography is like. Find the edge pieces, see your story slowly begin to take shape, and then build from the edges. It doesn’t come easy, but that’s okay, nothing good ever does.
***
Pro photog Dan Milnor is Blurb’s creative evangelist. He helps us all learn how to up-level our photography. And if you’re ready to turn your photography into a photo book, join us at Blurb.